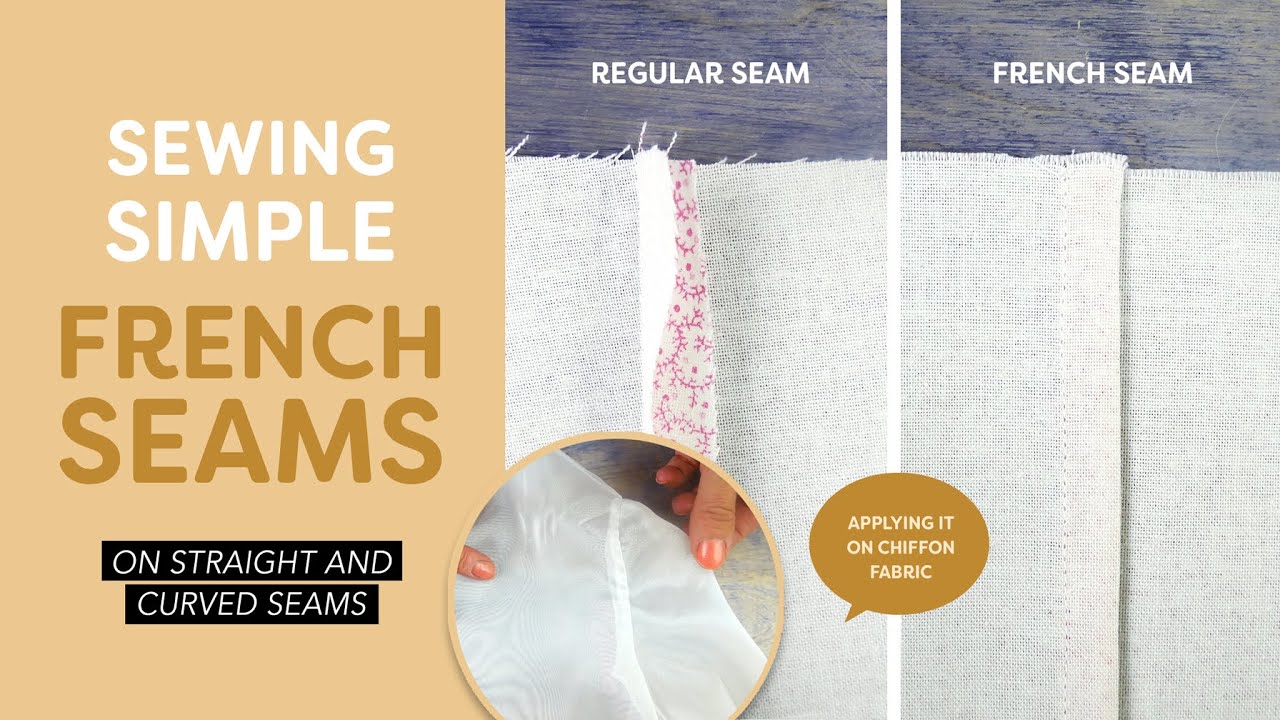
French seams are often used on clothing and work best on lightweight to medium weight fabrics. In this video, we’ll show you how to make a French seam on both a straight seam and curved seam so you can give your own home sewn clothing a professional look.
To sew the flattest French seams, you’ll need to choose a finer thread. In the top we’ll be using InvisaFil, a 100wt cottonized polyester thread that is incredibly fine. This will ensure the thread doesn’t add any extra bulk in the seams. Choosing a super fine thread like InvisaFil will really help your seams to lay flatter and allow the thread to hide in the fabric so it can’t be seen. This will be especially important when doing French seams with sheer fabric.
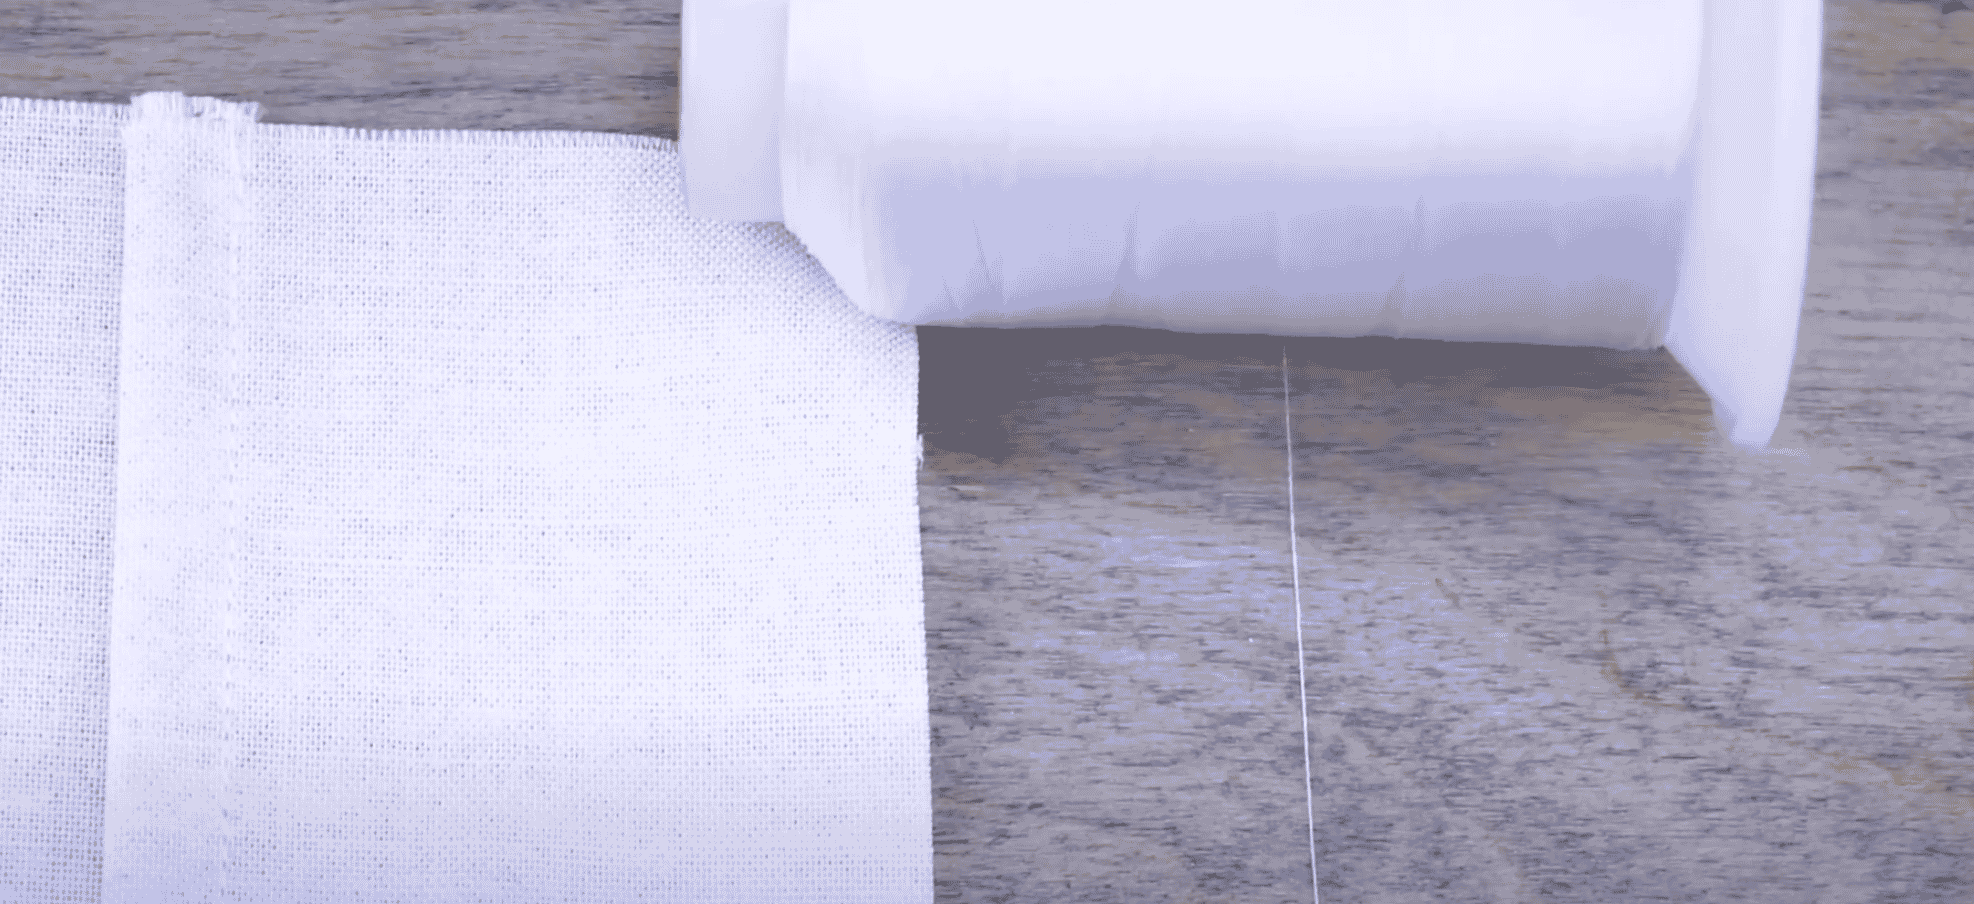
InvisaFil 100wt thread.
In the bobbin we’re using DecoBob, an 80wt cottonized polyester thread that is nearly as fine as InvisaFil, but just a little thicker so we can rely on it to hold the seams together well.
Thread your machine and set your stitch length to a shorter 1.8 to accommodate the finer thread.
Sewing Straight French Seams:
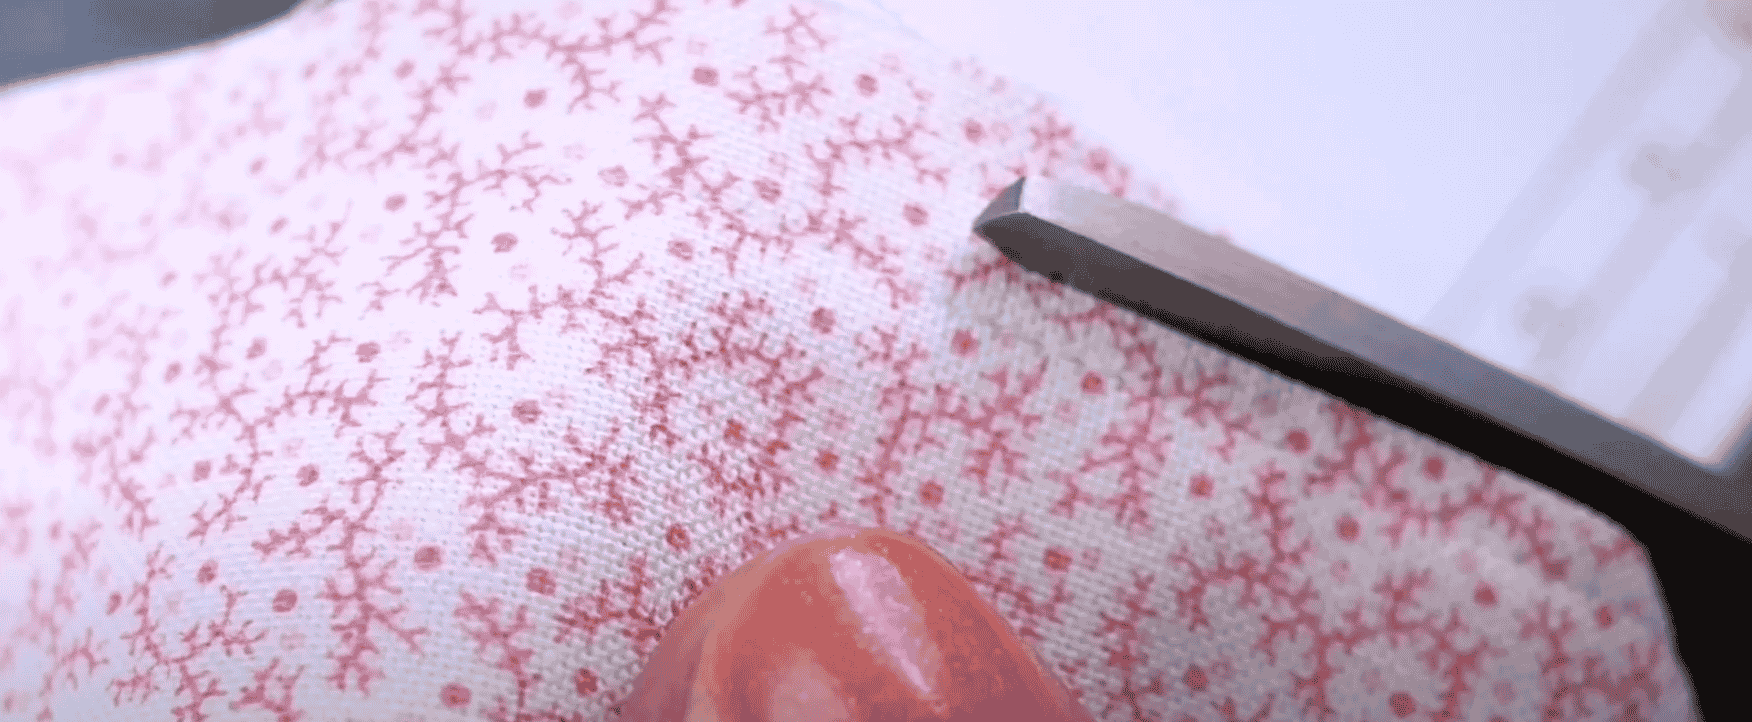
To begin, pin your fabric with the wrong sides together. Straight stitch down the length of your seam using a 3/8”, or 1cm, seam allowance. When you’re finished, trim the fabric close to the stitch line to reduce the bulk in your seam.
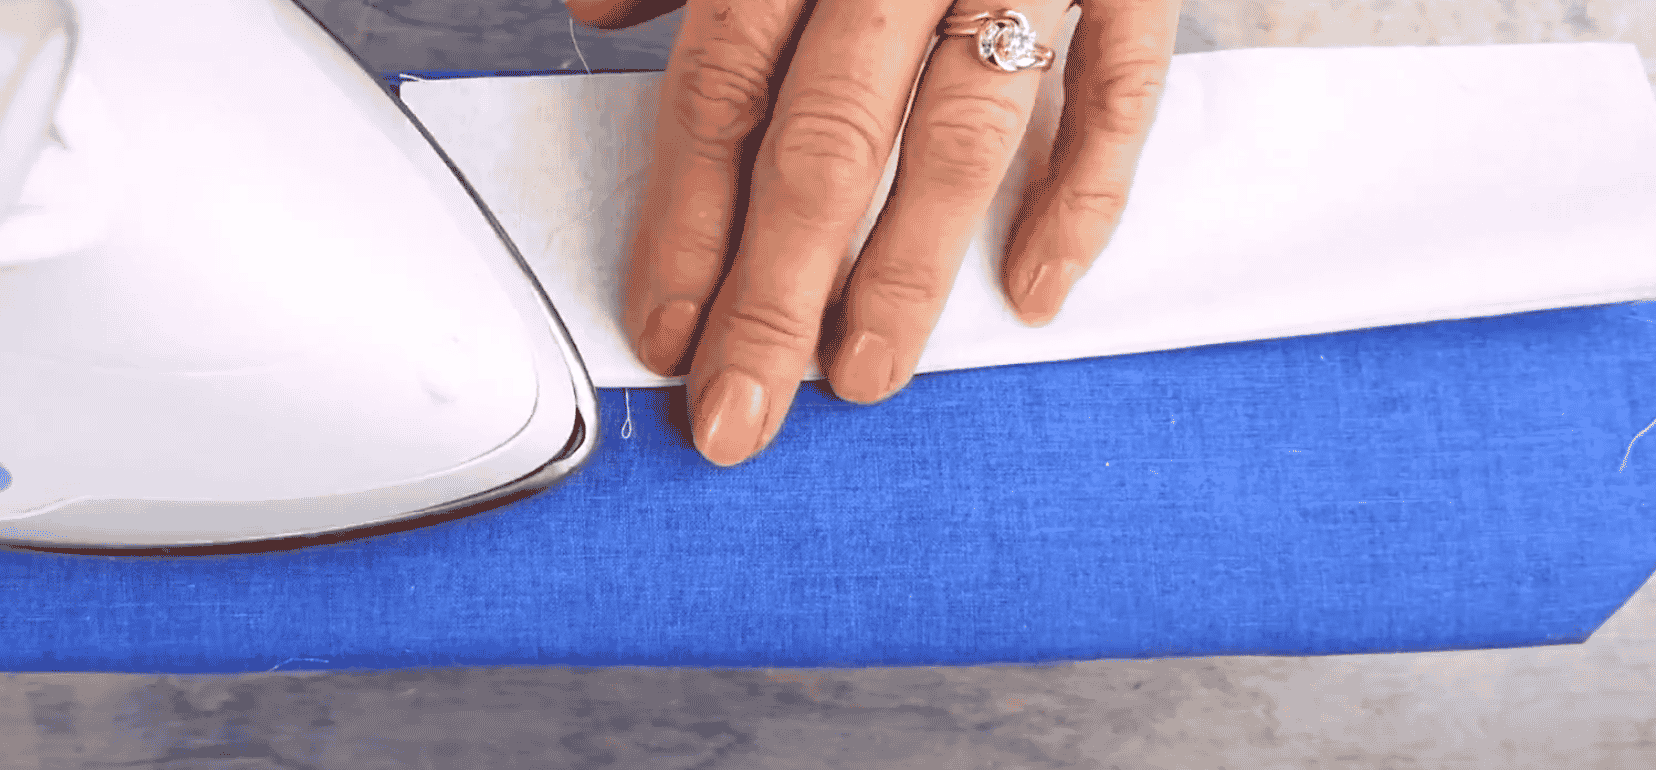
Now press the seam open to help it lay flatter, then flip it over and press the seam from the other side so you have a nice crisp, flat seam. Fold your fabric so now the right sides are together and push out the seam. Give it another quick press with the iron so it’s lying flat.

We’re now going to sew down the seam at a ¼”, or 5mm, seam allowance. As you can see, the raw edges are tucked away inside this new pocket, and what you have left is a beautiful French seam. You can give it another press with the iron to finish it.
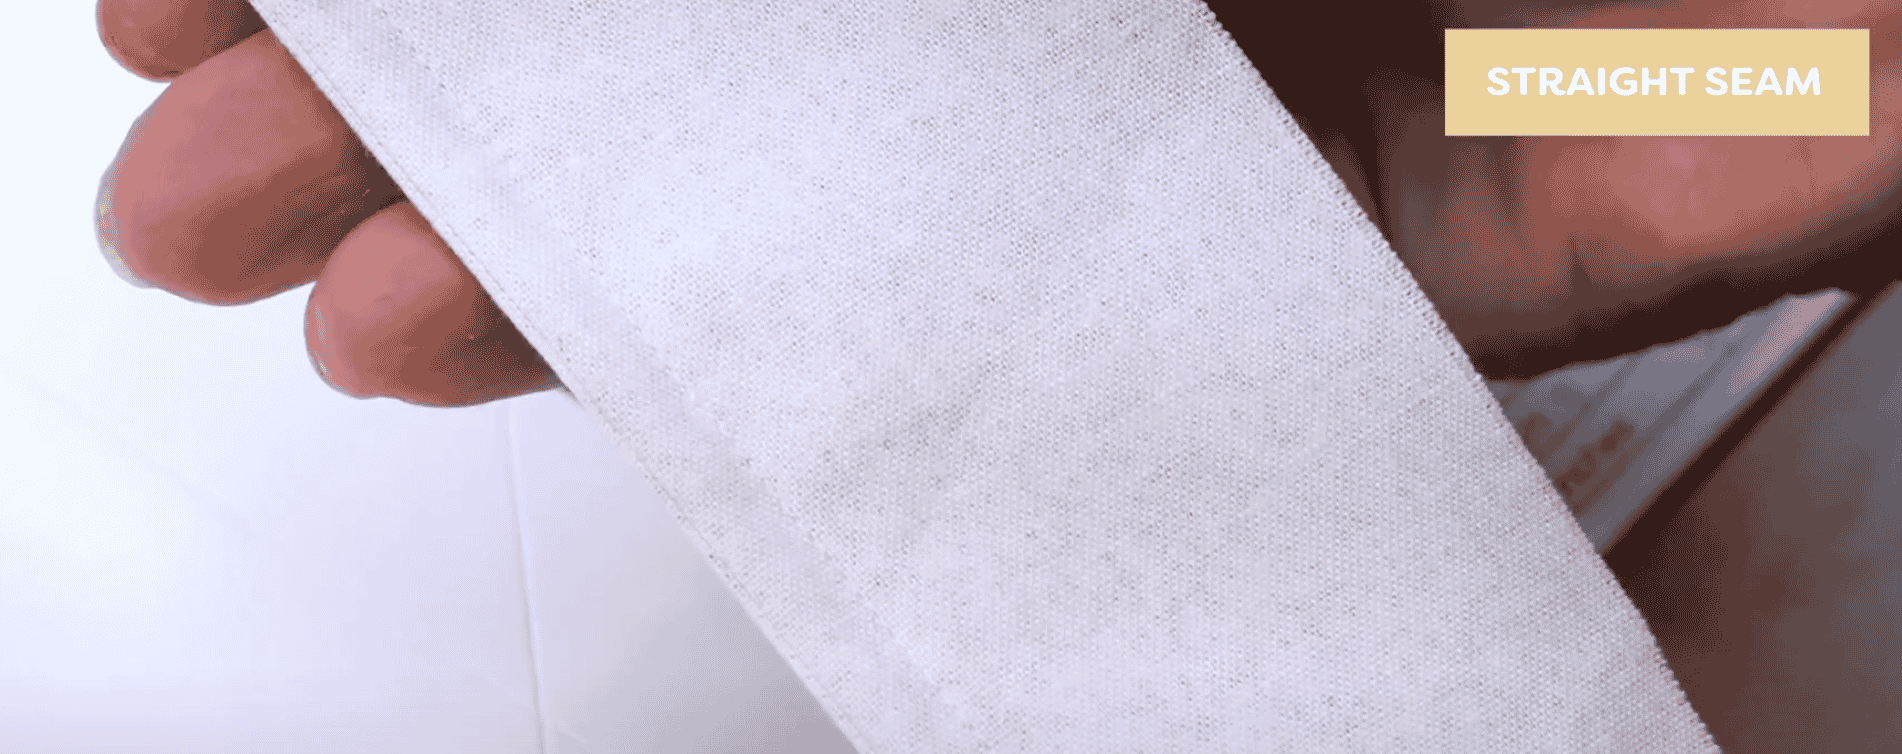
Straight seam on cotton fabric.
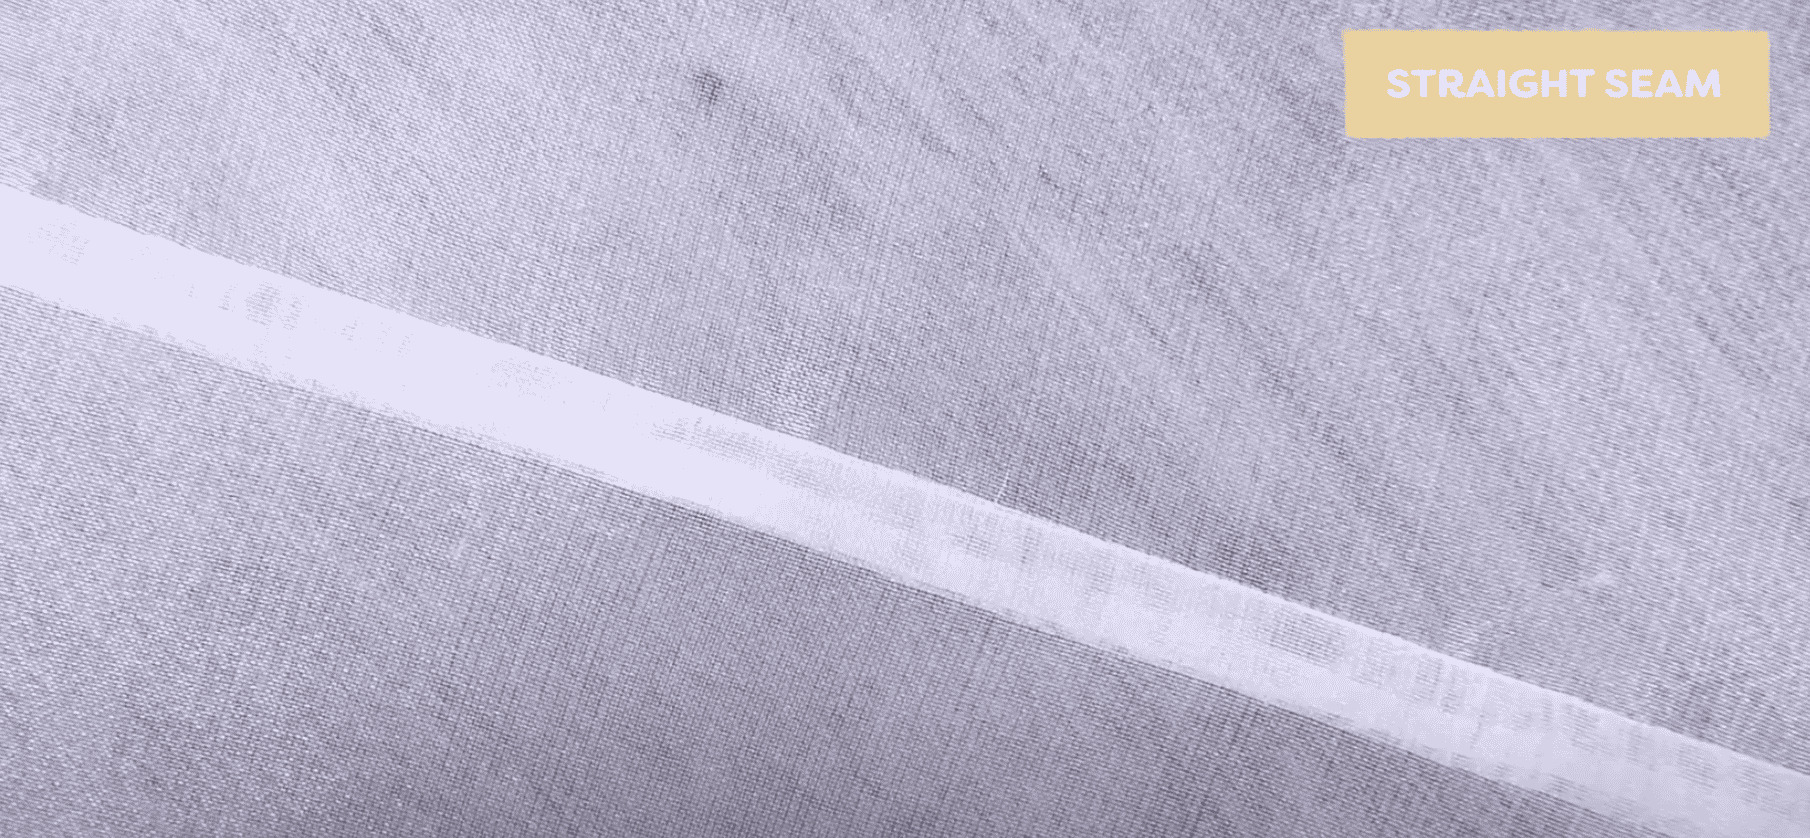
Straight seam on sheer fabric.
Sewing Curved French Seams:
To do a curved seam, such as when you would need to insert a sleeve on a shirt, there are a few extra steps. To begin, you’re going to need to help ease in the sleeve cap. You can do this by sewing a line of gathering threads along the sleeve cap.
Change your stitch length to something large like 4. With right sides together, sew along the sleeve cap between the two notches on your pattern with a ½”, or 1.2cm, seam allowance. Don’t backstitch at either end and remember to leave a long tail at both ends.
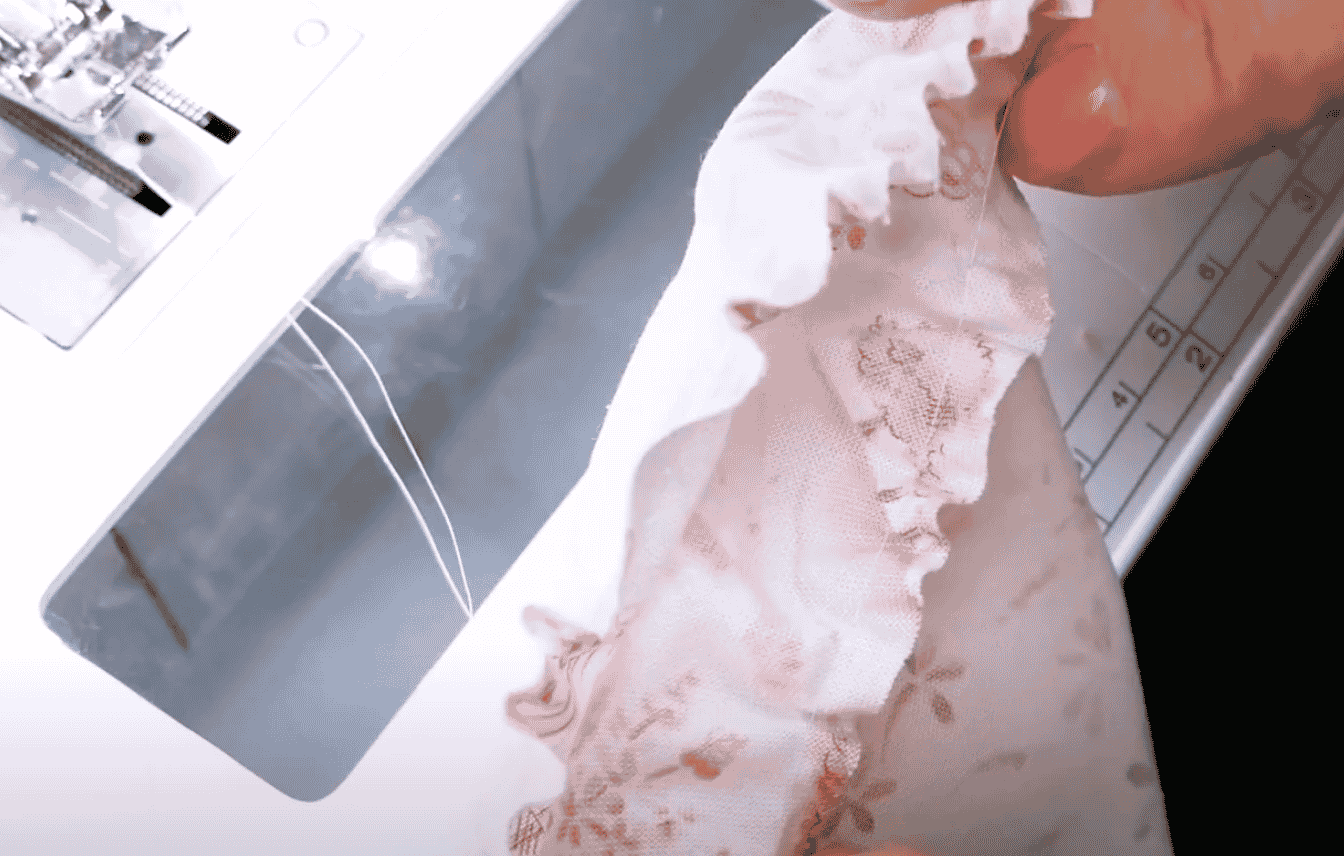
Pin the sleeve and arm hole together with the wrong sides together, matching the seams and the markings. Then pull the gathering stitches to ease the sleeve cap into the arm hole.
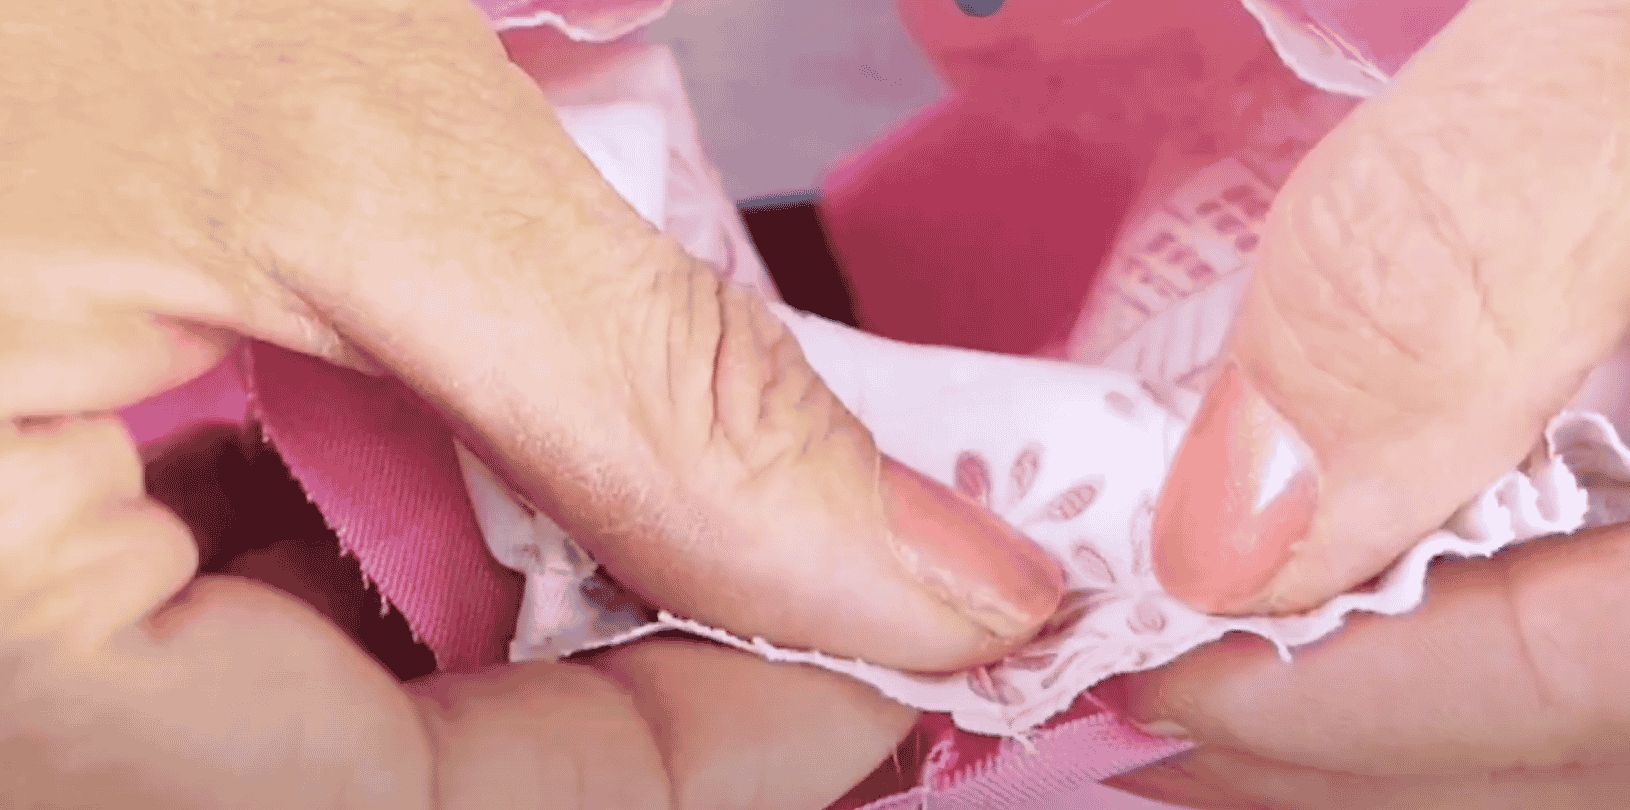
Change your stitch length back to 1.8 and stitch the seam with a 3/8” seam allowance. Check the seam for any tucks and remove them if you find any. Now trim the seam close to the stitch length and press it open so it lays flat.
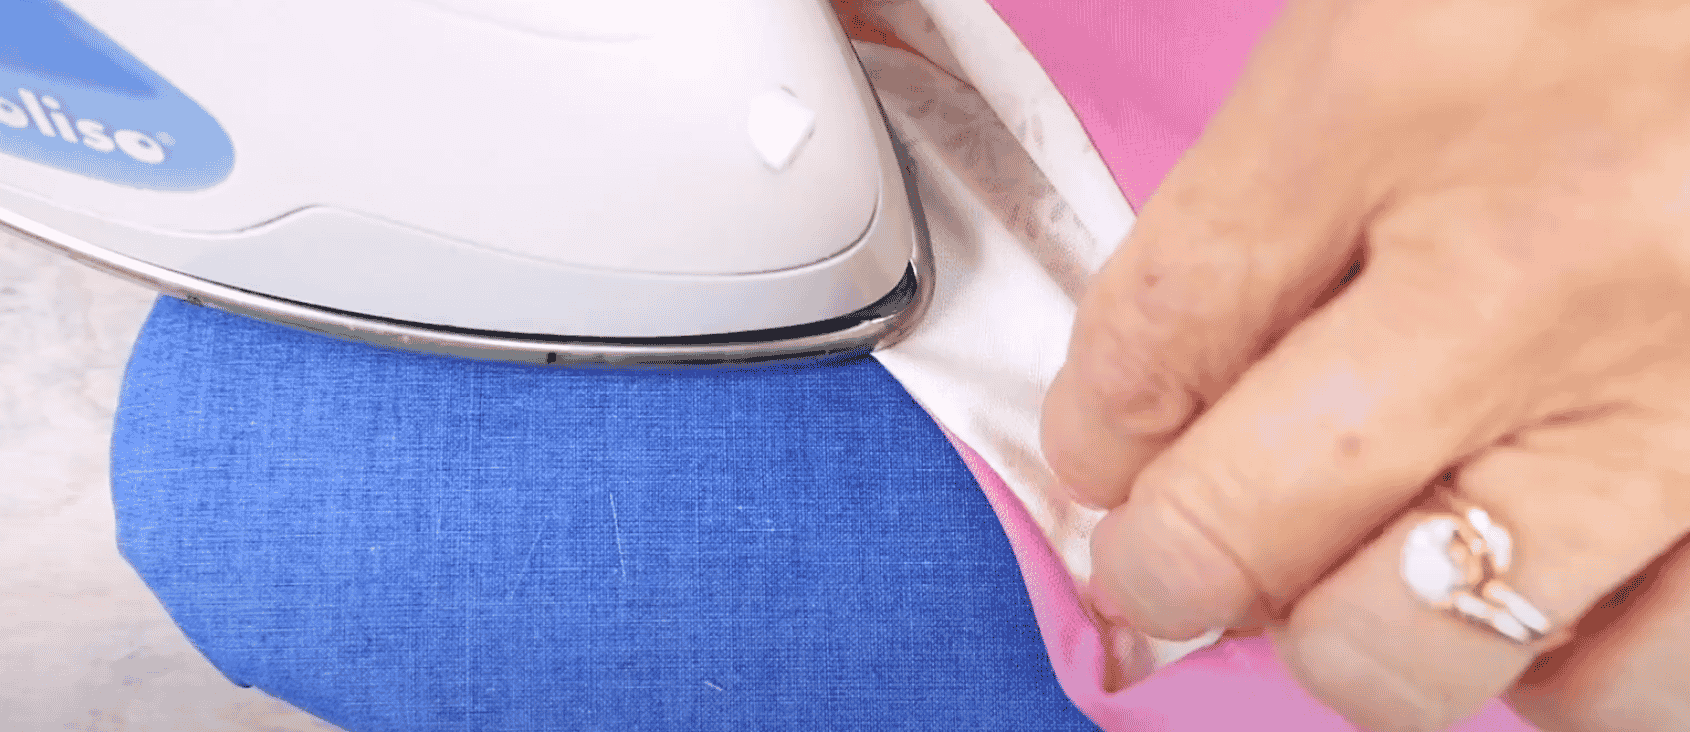
Fold the fabric so the right sides are facing and sew again at a ¼” or 5mm seam allowance. Once again, check for tucks and remove them if you find any. You can give it a final press so the seam lays nice and crisp, and that’s all there is to it!
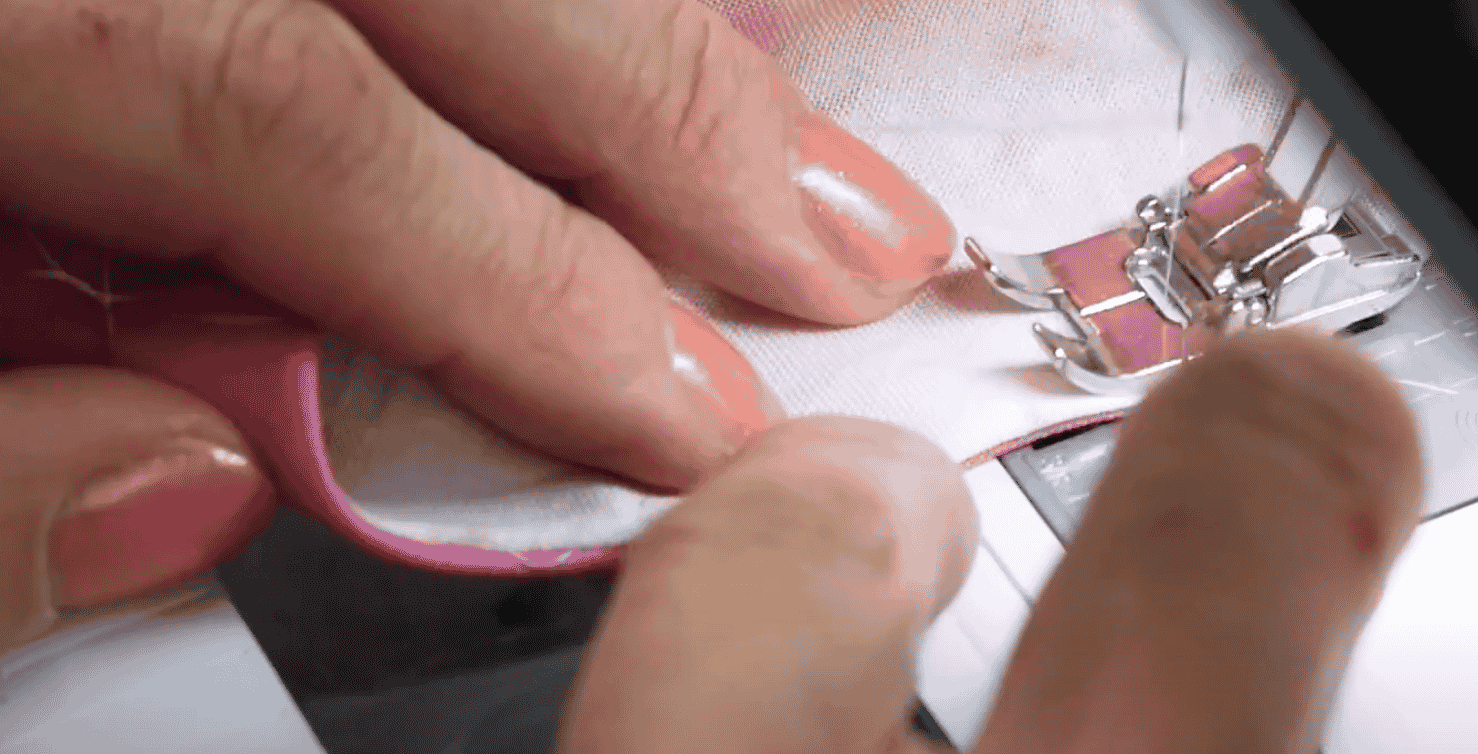
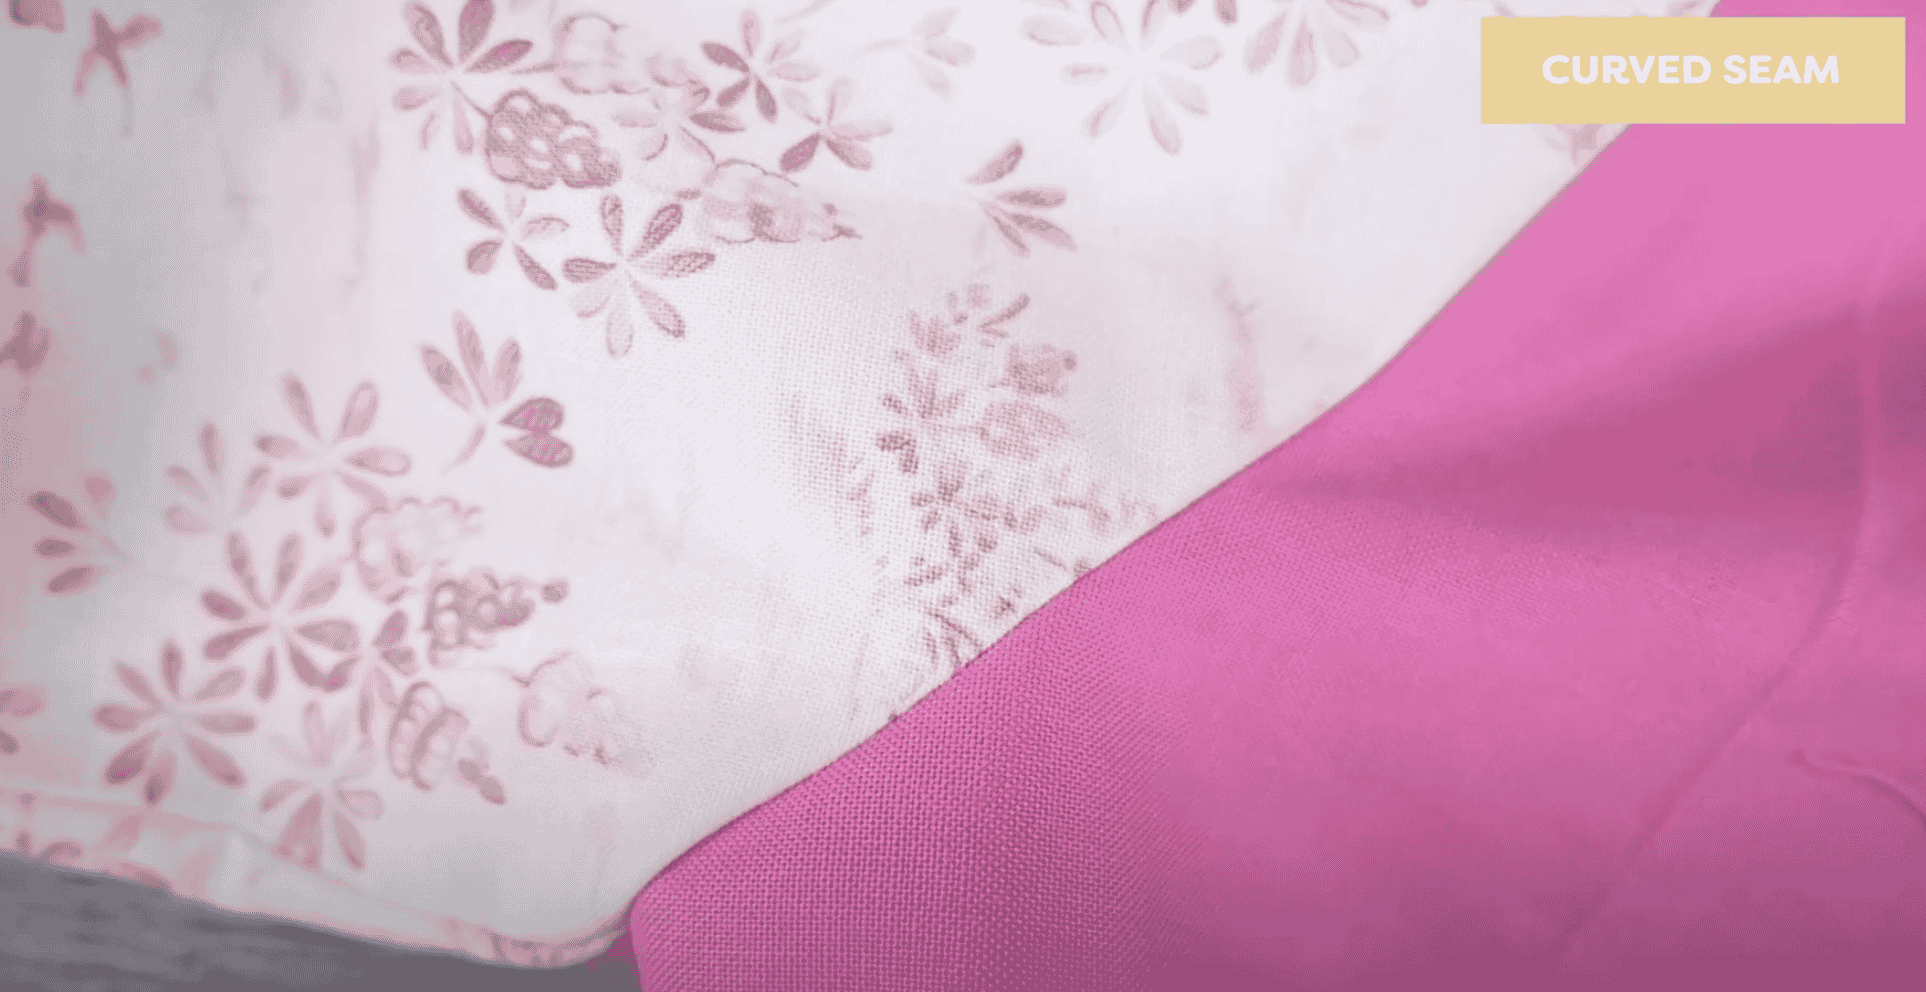
Curved seam on cotton fabric.
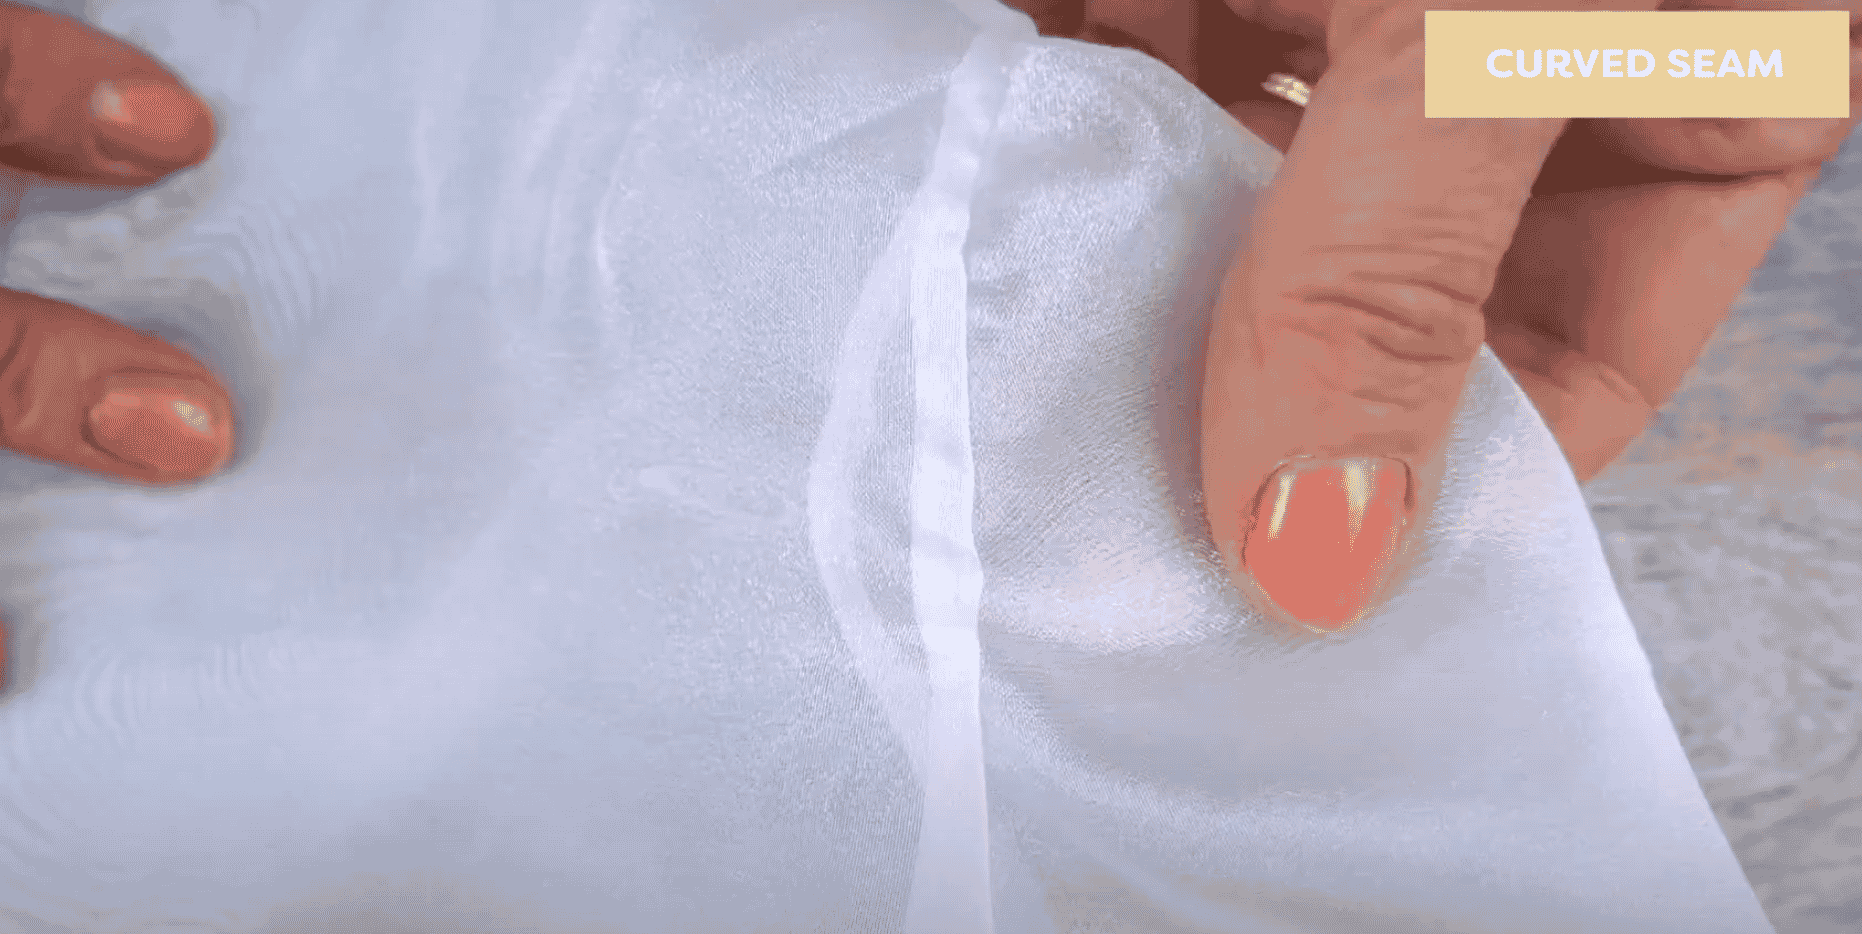
Curved seam on sheer fabric.
Inspired to sew with InvisaFil and DecoBob? Find a store in your area that carries WonderFil at http://www.shopwonderfil.ca/shop-local. You can also sign up for our free newsletter to receive more educational sewing tips, tutorials, and free patterns. Register by clicking here! We’ll see you again next time!

