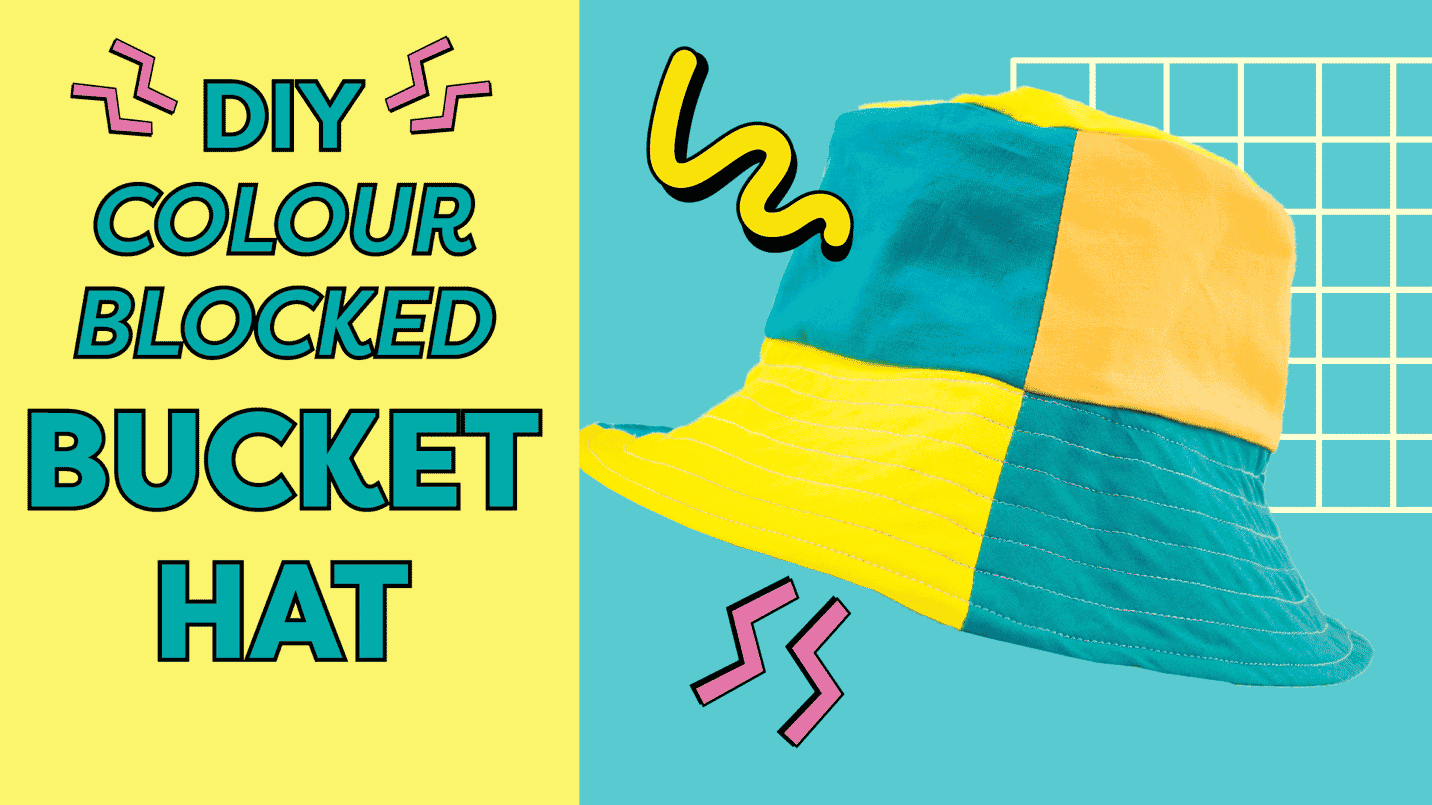
The sun is shining with the promise of warmer weather just around the corner here at WonderFil HQ, and so it’s time to protect your eyes from those UV rays! Bucket hats are back in style, so we’ve got the perfect trendy and functional tutorial for you today, a colour blocked bucket hat inspired by 90’s fashion, and get this, it’s reversible! So what are we waiting for, let’s get to sewing!
Start by printing out our free downloadable pattern by clicking here! We’ve included a dotted line along the brim pattern piece if you’d like to do an oversized brim, as well as some ties if you’re making this bucket hat for a little one!
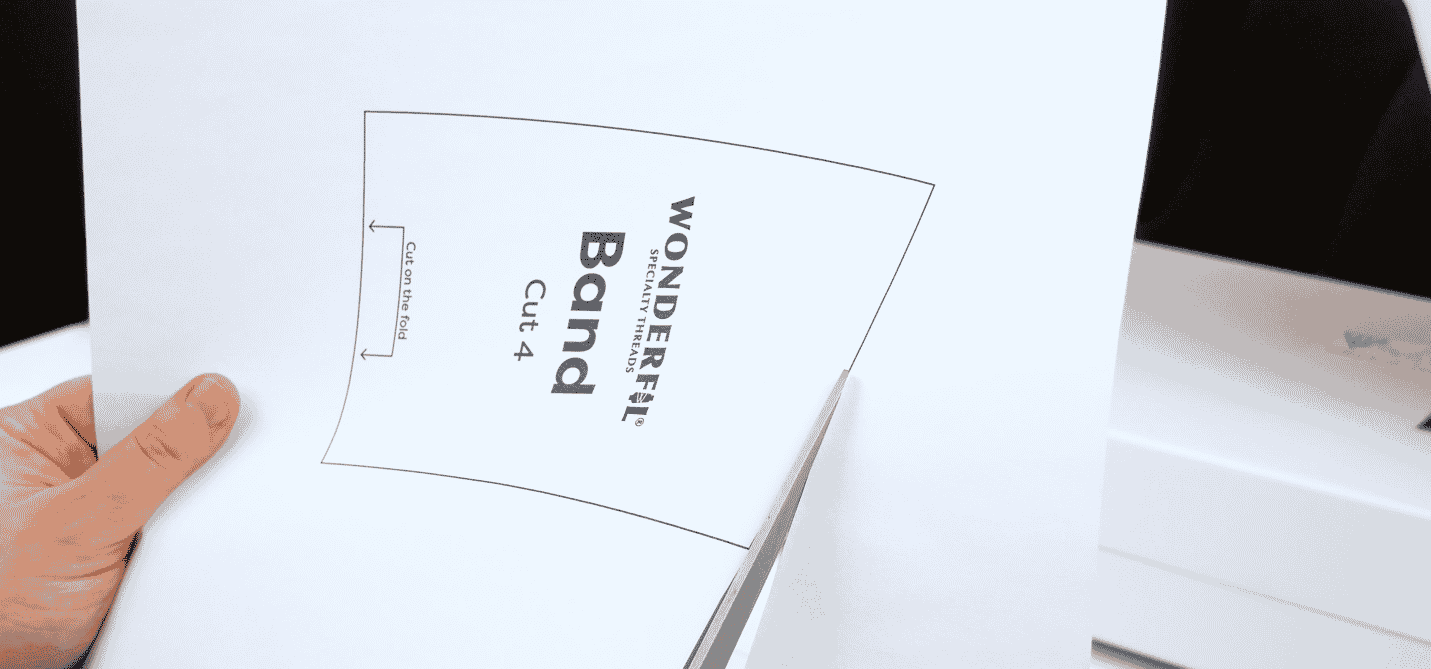
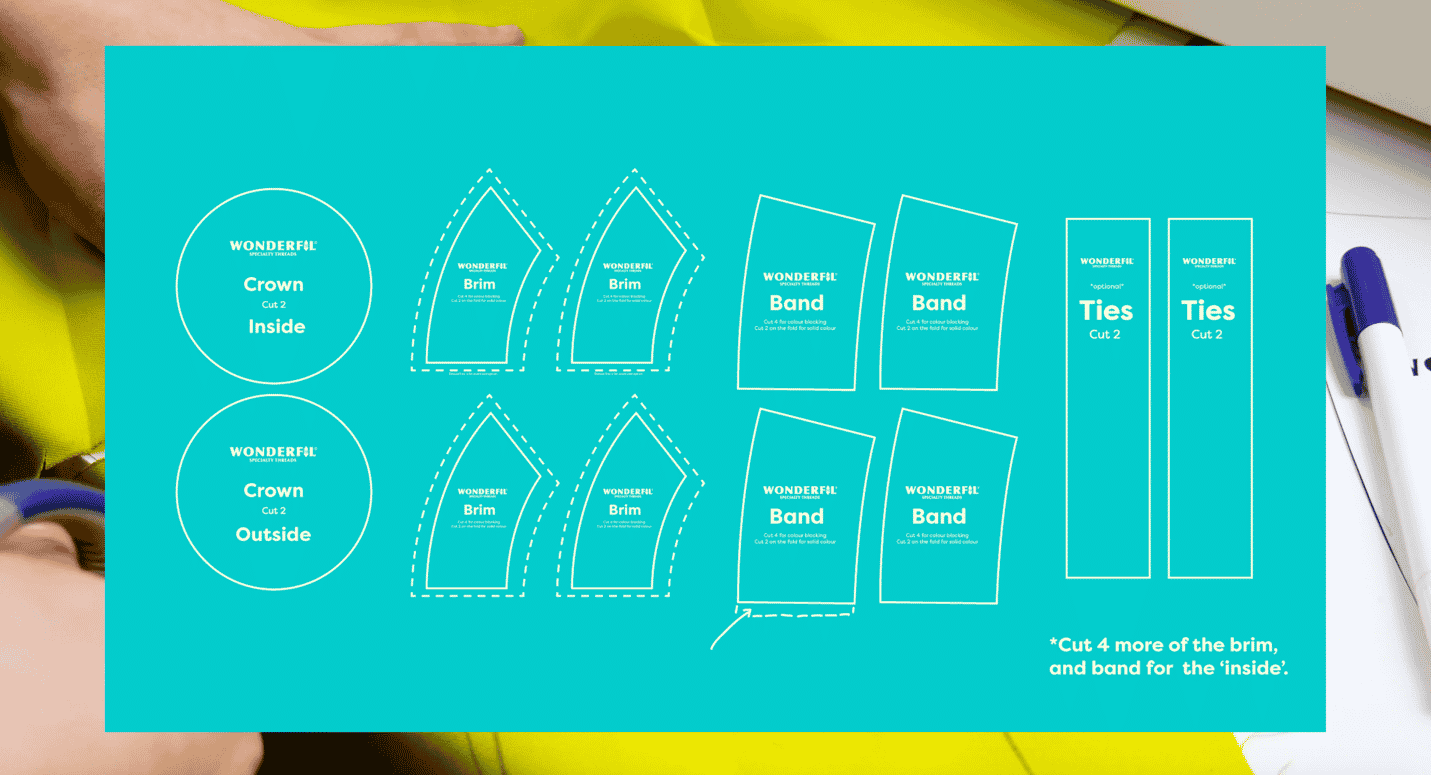
Print out the pattern and cut your pieces out as follows:
• You’ll need 2 crown pieces
• 4 brim pieces if you’re colour blocking, or 2 cut on the fold if you’re doing a solid colour.
• 4 band pieces if you’re colour clocking, or 2 cut on the fold if you’re doing a solid colour.
for the band, leave a ¼ in or 0.6 cm seam allowance on the bottom edge to account for stitching the band together.
• 2 of the optional tie pieces cut on the fold if you choose.
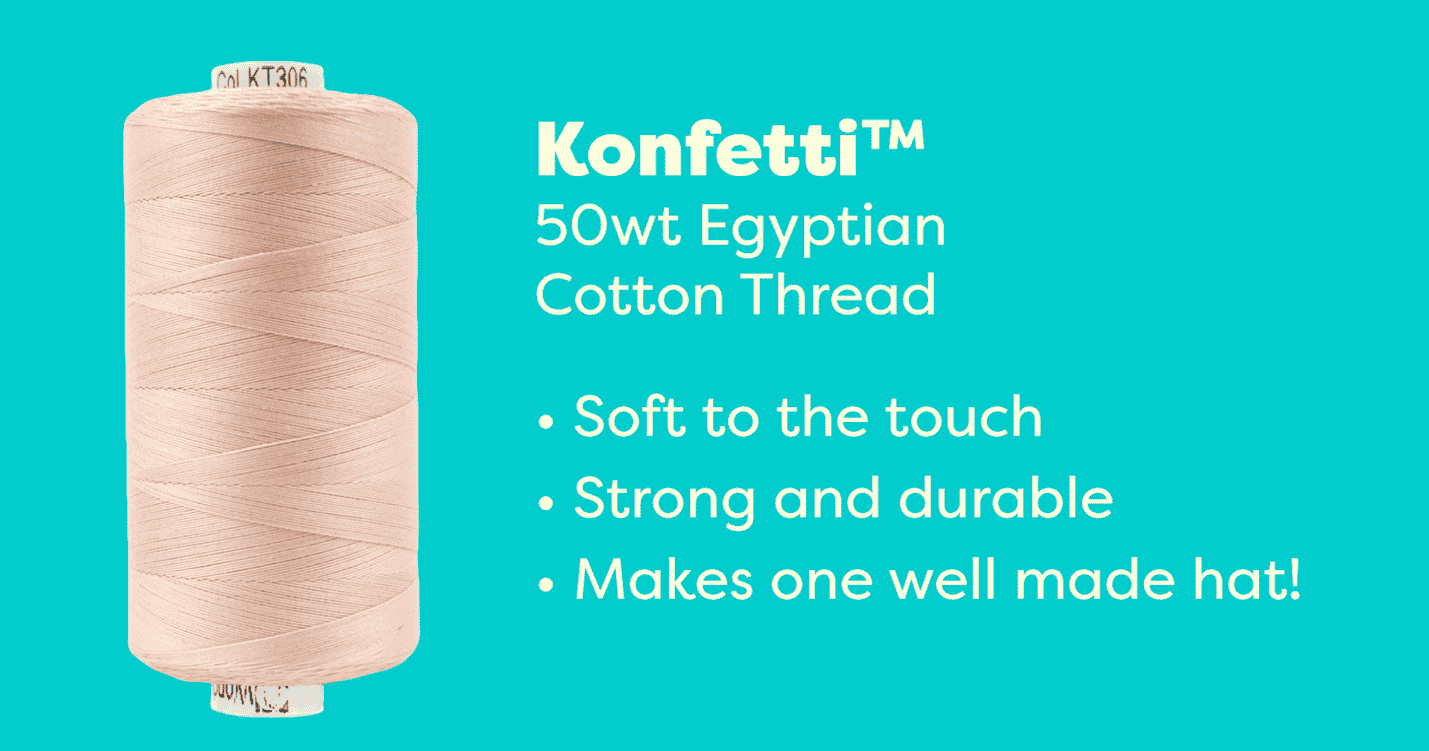
We’re going to be using Konfetti™, our 50wt Egyptain cotton thread to stitch this funky hat together. Konfetti™ is soft to the touch which makes it the perfect option for a soft hat like this. Because it’s cotton, it’s tough enough to hold up through the wash, wear and tear, and general tugging on the seams. We’ve decided to choose one solid colour for construction
You can find Konfetti™ in a store near you, or n our online shop here: https://shopwonderfil.ca/product-category/konfetti/
We’ll be using DecoBob™, our 80wt cottonized polyester pre-wounds as our bobbin thread.
You can find DecoBob™ pre-wound bobbins in a store near you, or n our online shop here: https://shopwonderfil.ca/pre-wound-bobbins/
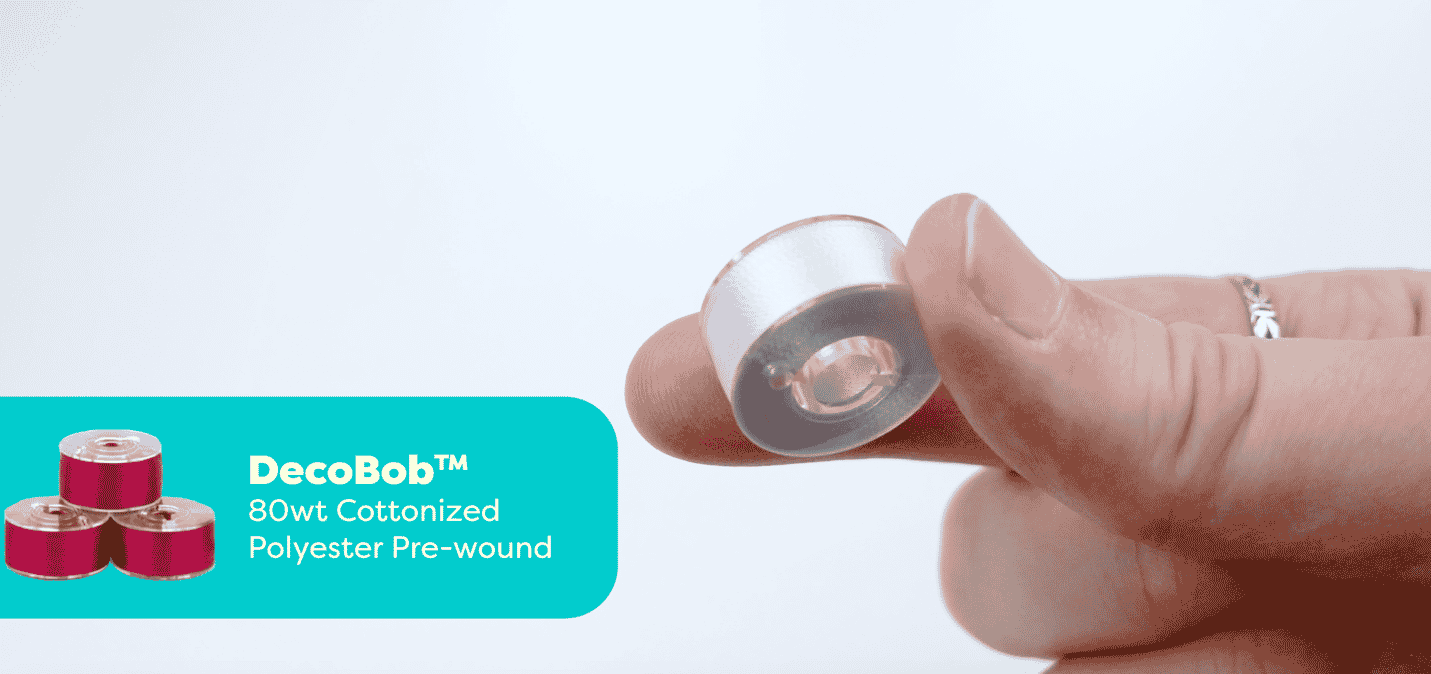
And for some decorative top stitching along the brim, we’ve decided to use our 50wt Egyptian cotton variegated thread called Tutti™. Tutti™ is the perfect thread for this for all of the same reasons that we chose Konfetti™ with just a little extra touch of spring because of its variegated colours!
You can find Tutti™ in a store near you, or n our online shop here: https://shopwonderfil.ca/product-category/tutti/

Once your fabric pieces have been cut it’s time to arrange them! If you’re colour blocking like we are, it’s important to plan out where your colours are going before hand so that you don’t double up on any of the colours.
First start by stitching the band pieces together. Line up the ends right sides together and stitch along the short edge using a ¼ in or 0.6 cm seam allowance, making sure to back stitch at the beginning and end of your stitch.
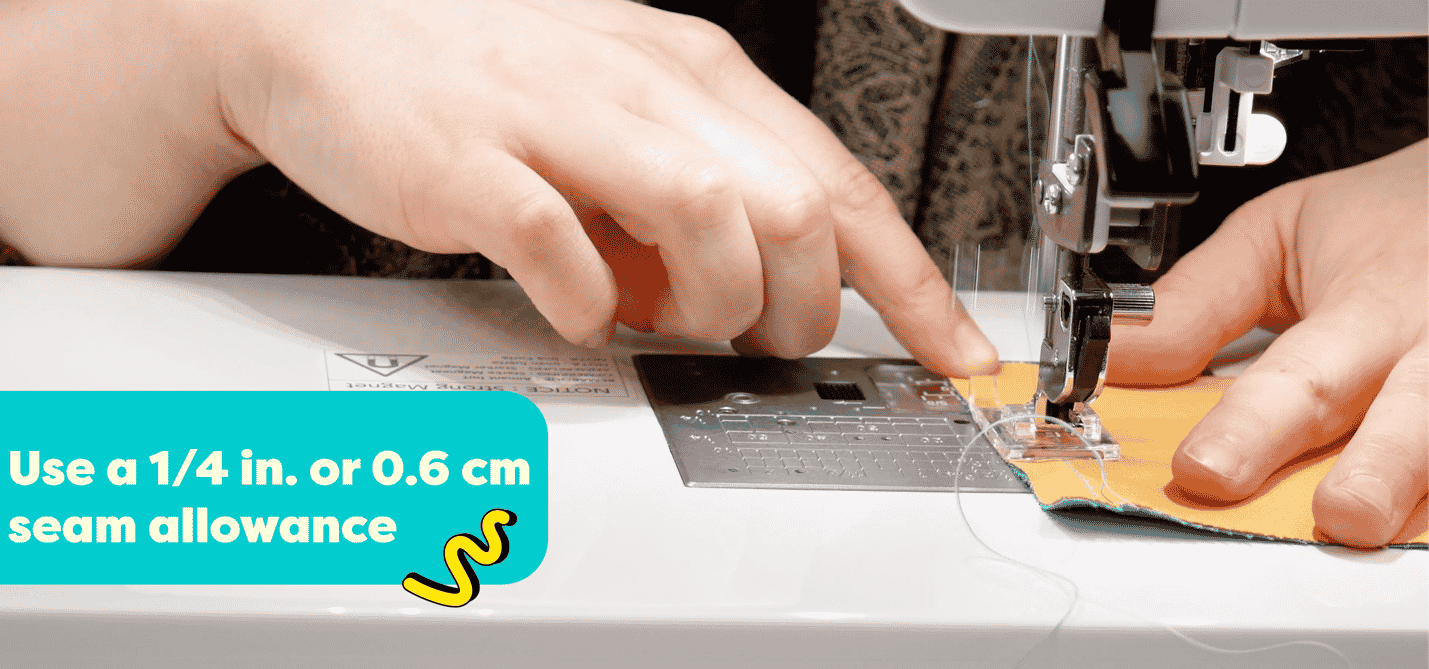
Once they’re all stitched together it should look something like this.
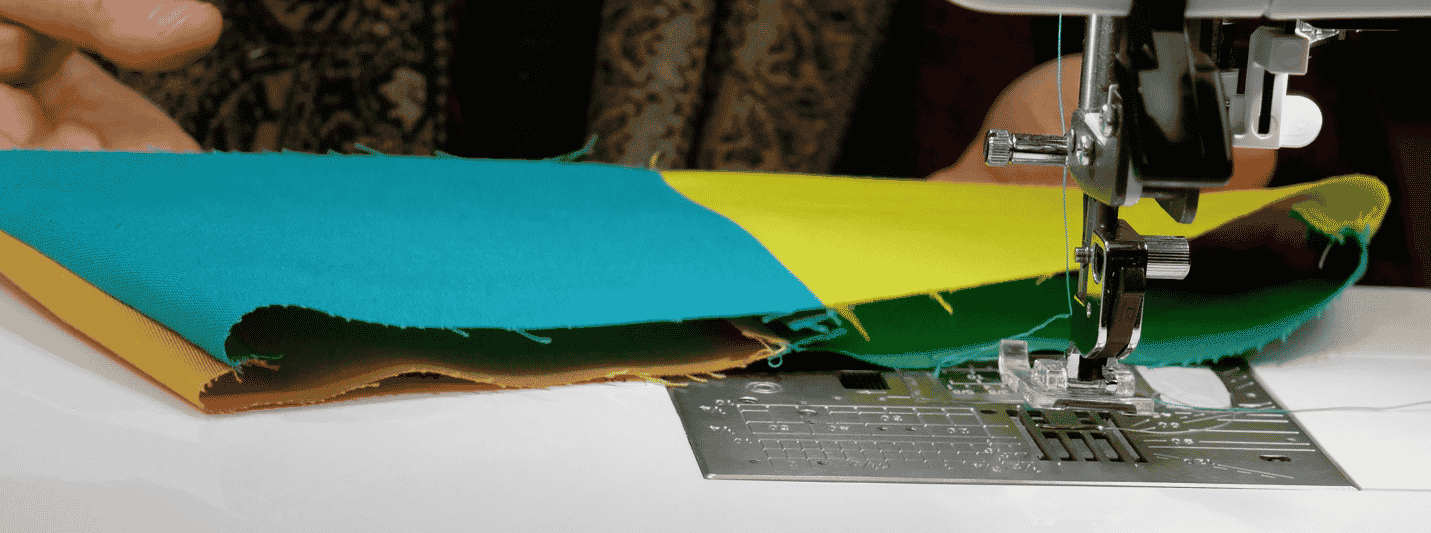
Next, pin the crown right side facing down, to the edges of the band. Go slowly and carefully line up the edges making sure that there’s no bunching of the fabric as this will cause puckering around the crown of your hat.
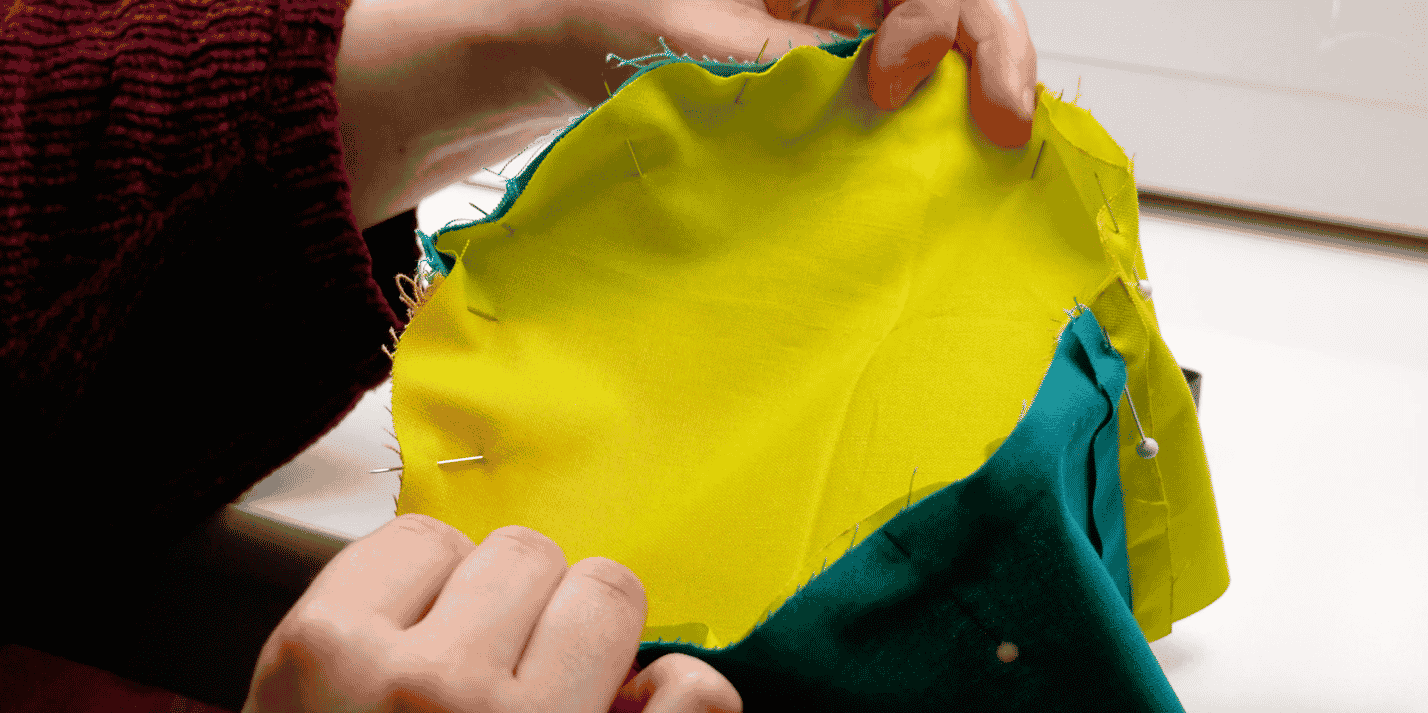
Slowly stitch around the edges of the crown using a ¼ in or 0.6 cm seam allowance. Once you’re done back stitch at the edge and snip your thread.
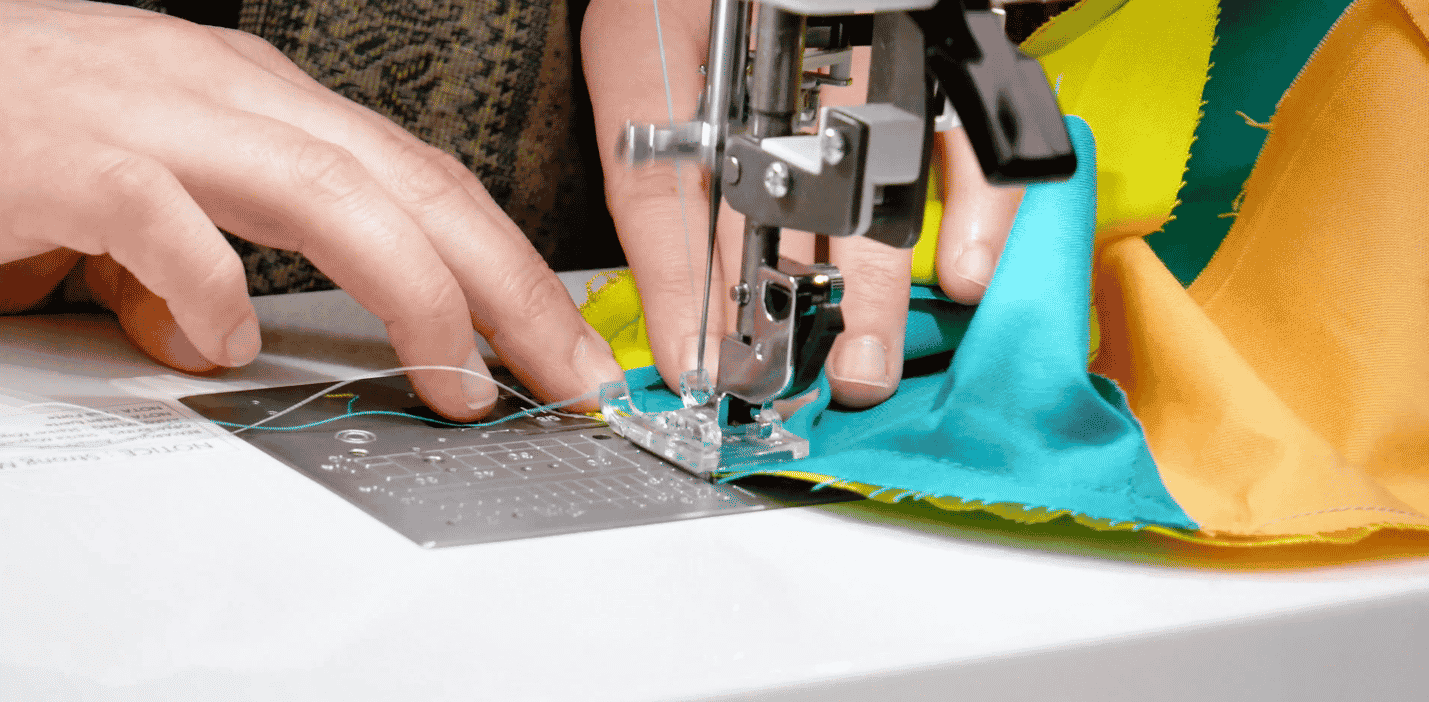
Lay your pieces out again to make sure the plan for your brim colour blocks are still correct.

Stitch them together along the short edge, right sides together, using a ¼ in or 0.6 cm seam allowance, and making sure to back stitch at the beginning and end of your stitch.
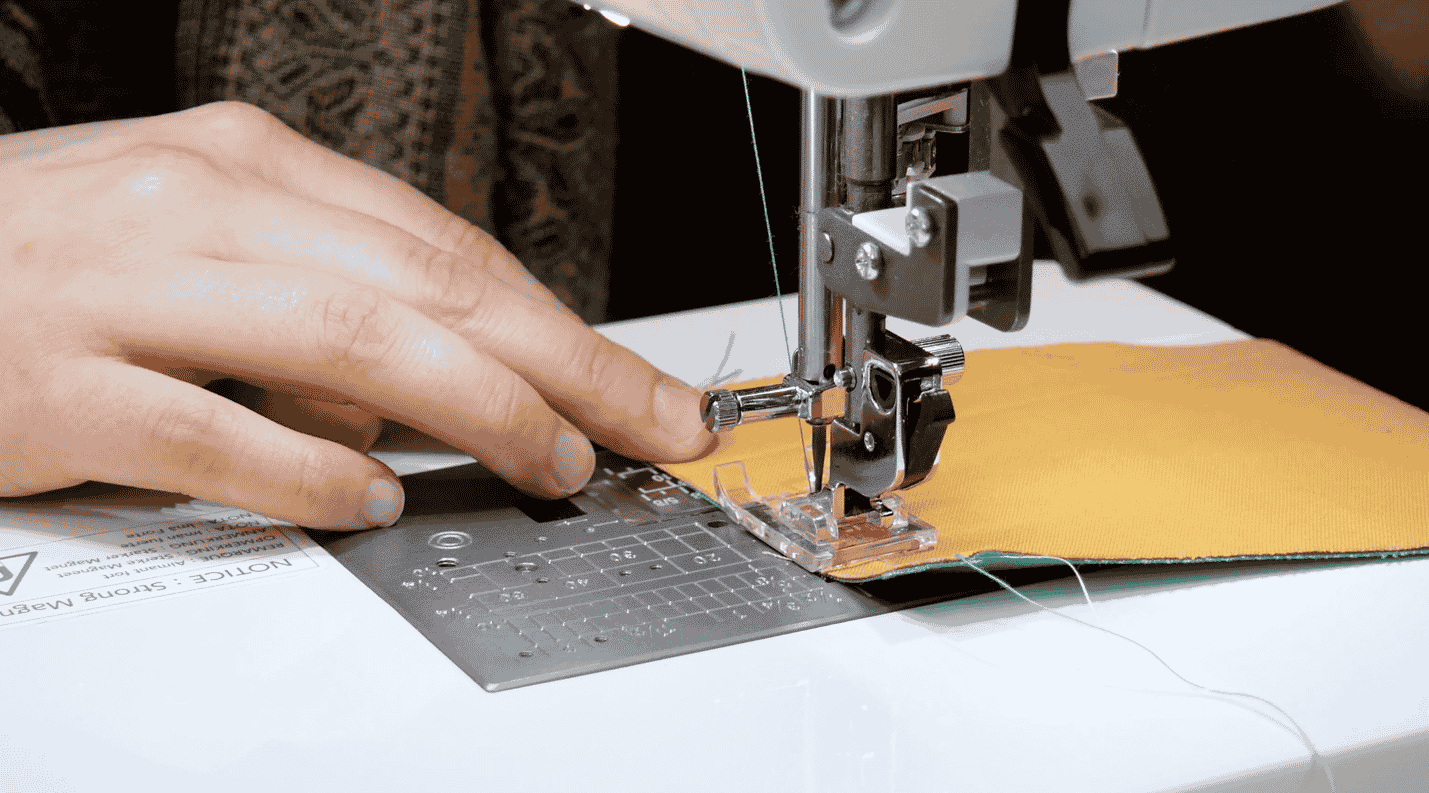
Pin the brim to the band fabric, right sides together.
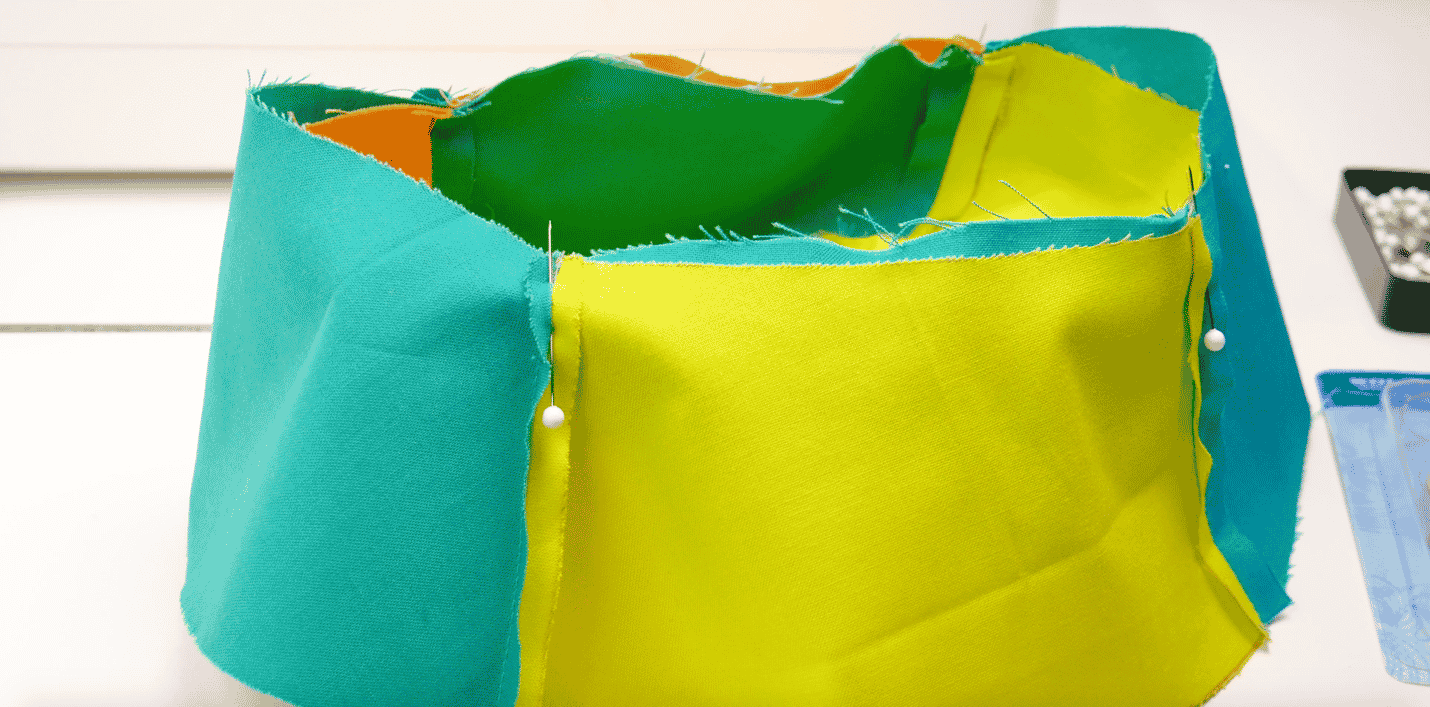
Stitch around the edge using a ¼ in or 0.6 cm seam allowance, and backstitch at the beginning and end of your stitch.
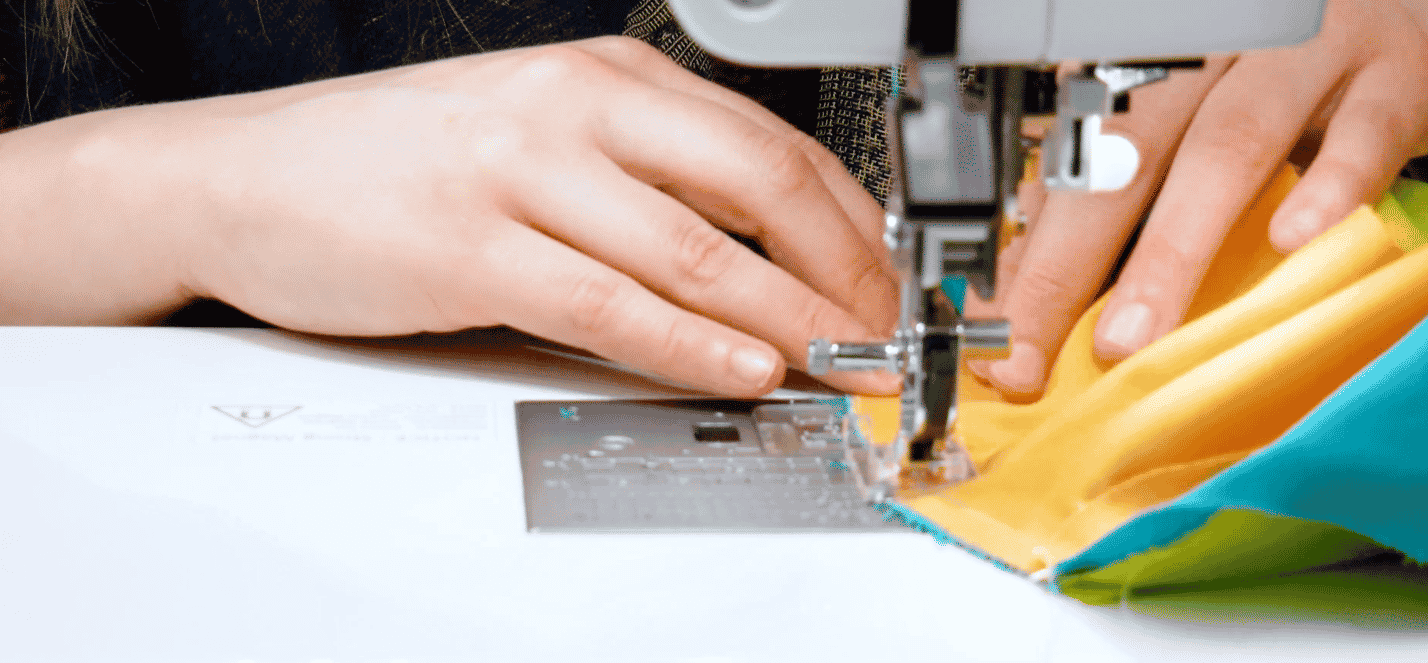
Repeat all of the same steps for the other set of fabric when stitching the brim to the band leave about a 2 in or 5 cm gap to turn it right side out later. You can use a larger gap if you’re using a heavier fabric.
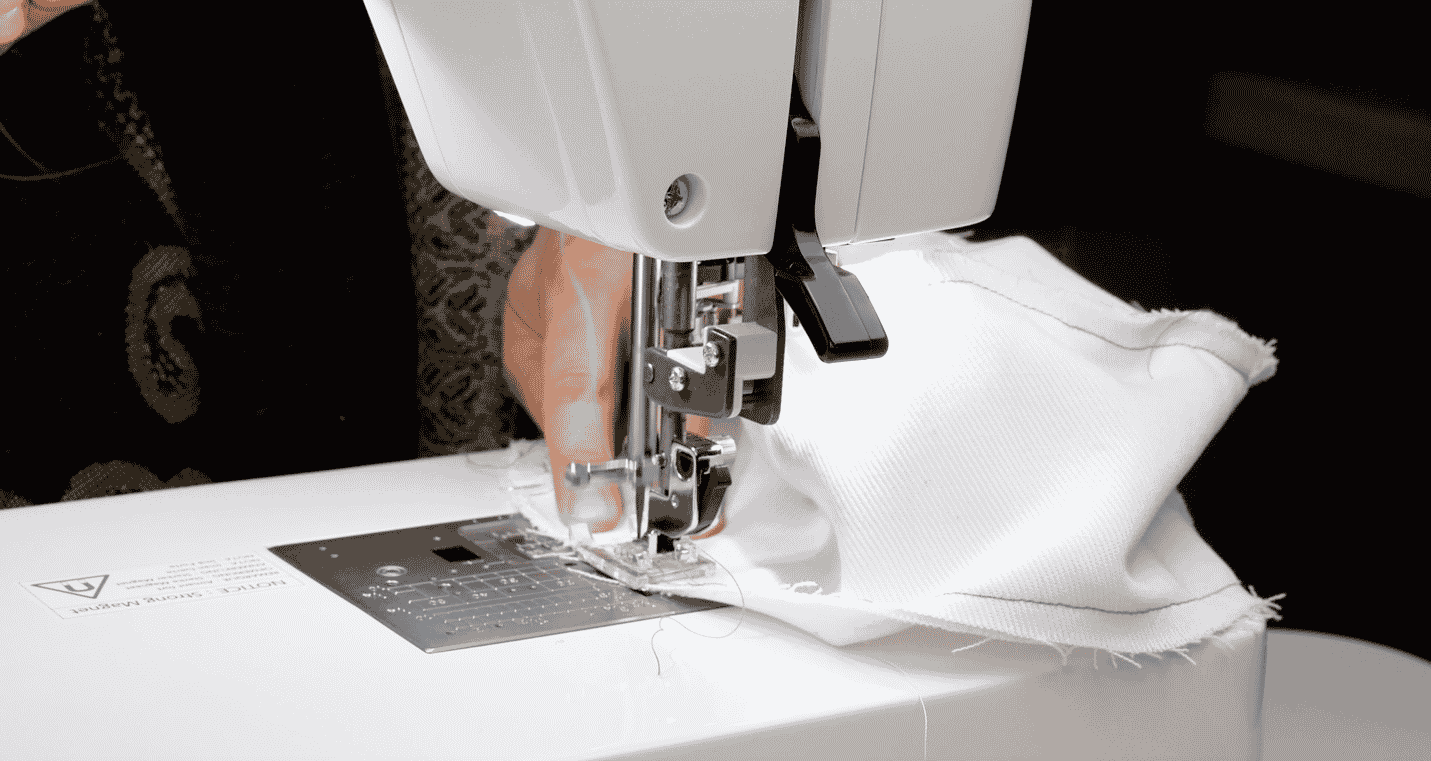
If you’re adding the optional ties, stitch them in between the brim and the band pieces for one of the sides, this piece will become the inside of the bucket hat.
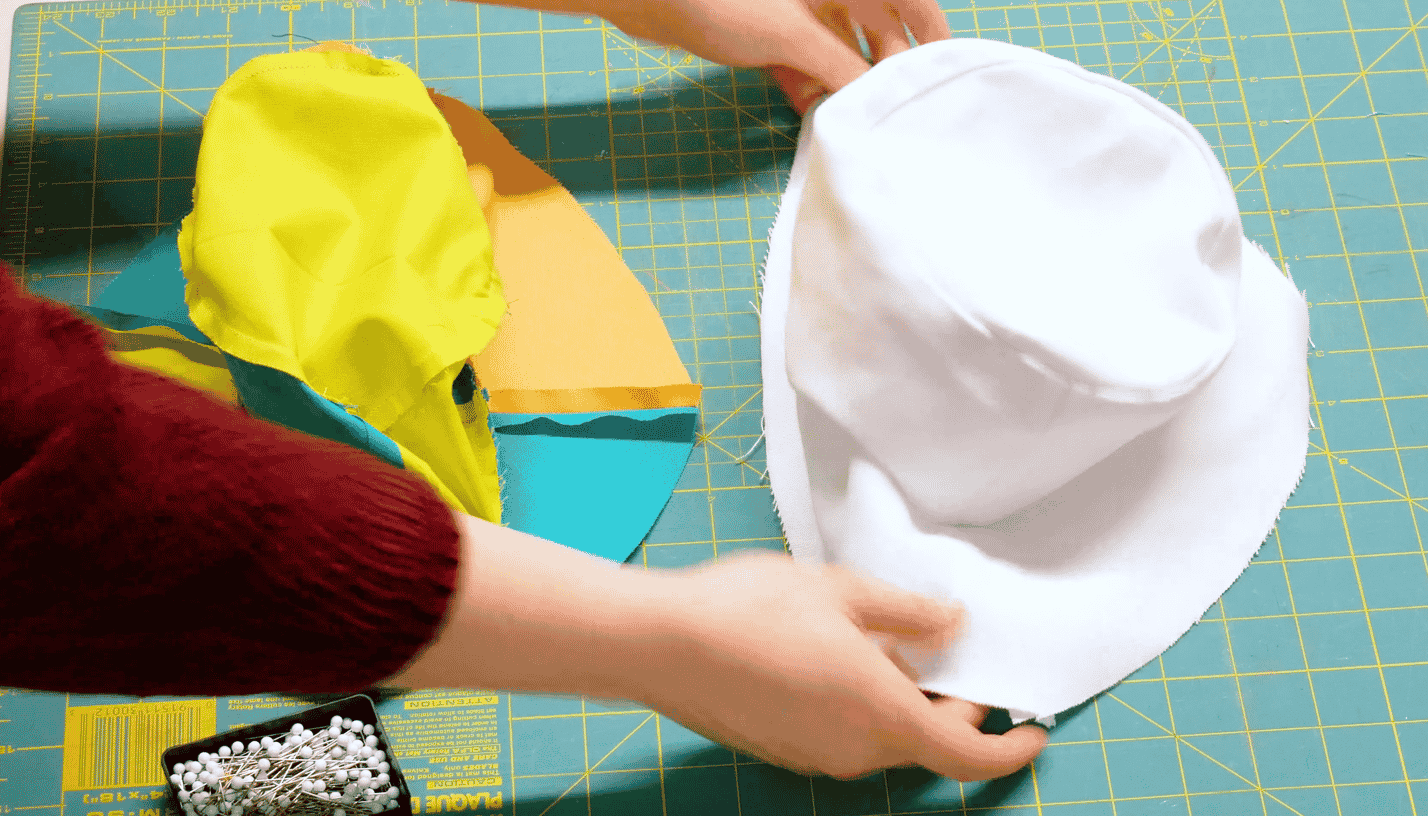
You should now have two complete hat pieces. Iron out any bumps, seams or edges that need to be straightened out and put the two sides of your hat right sides together.
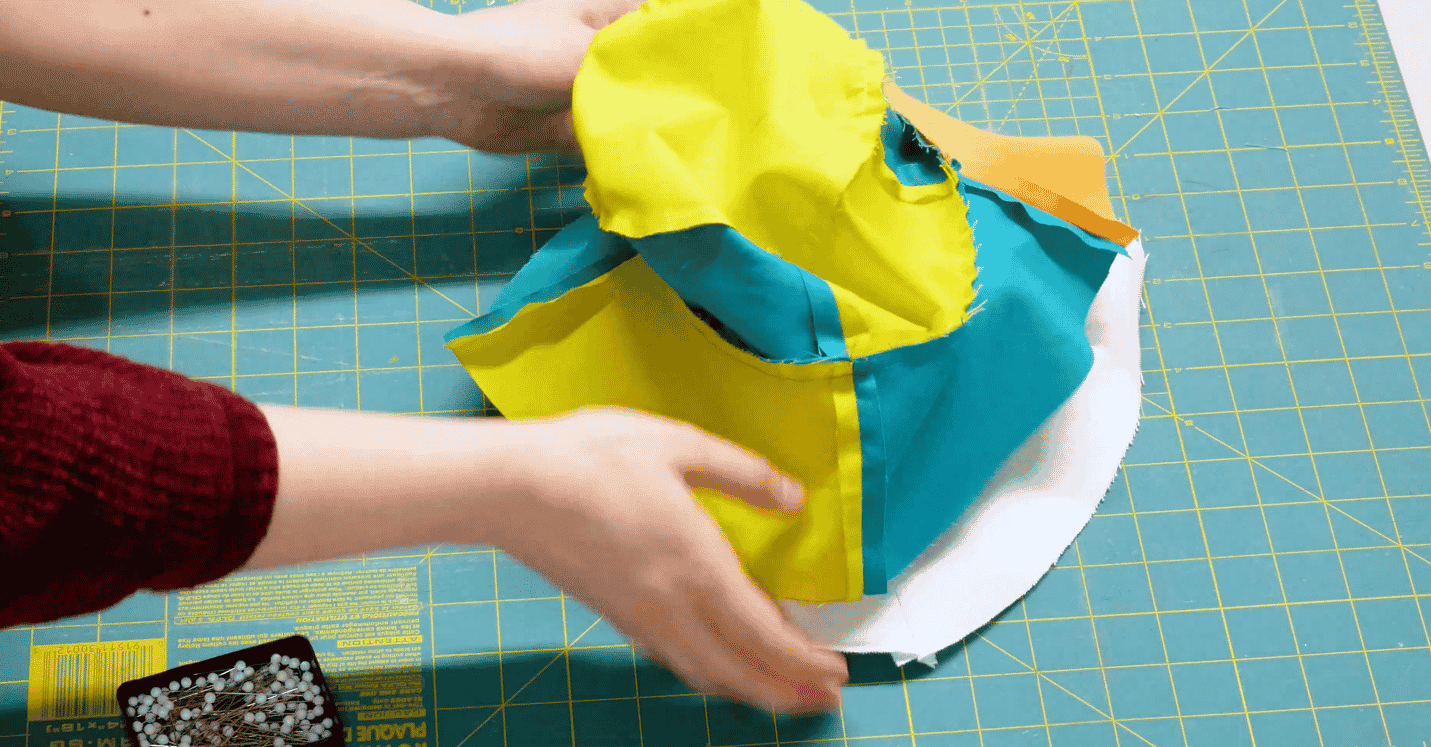
Line up the edges and pin them, making sure there’s no puckering between any of the pins that might cause a puckered edge. Stitch around the outside using a ¼ in or 0.6 cm seam allowance making sure to backstitch at the beginning and end of your stitch.
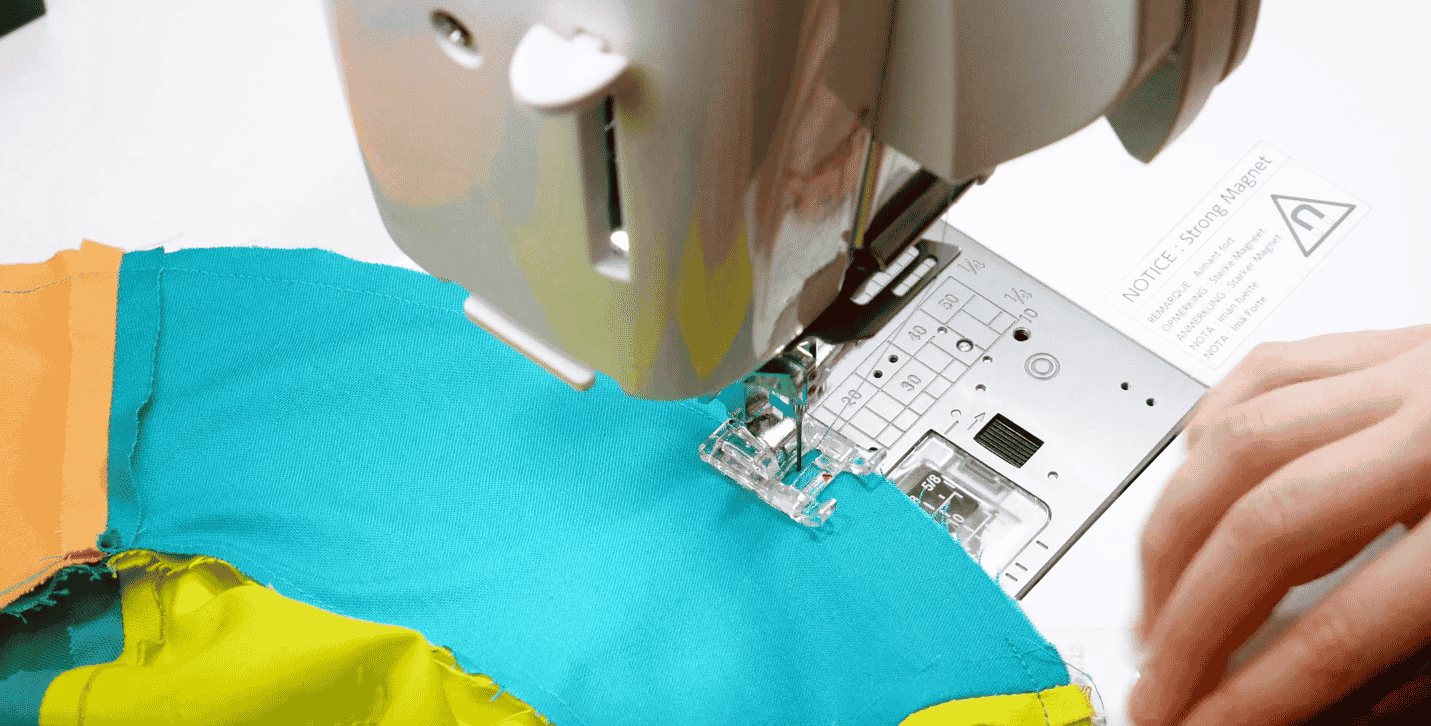
Turn your hat right sides out and spend a little bit of time getting them lined up perfectly, ironing any lumps or bumps, and stitch the hole we left shut with some Konfetti™ and a hand stitching needle.
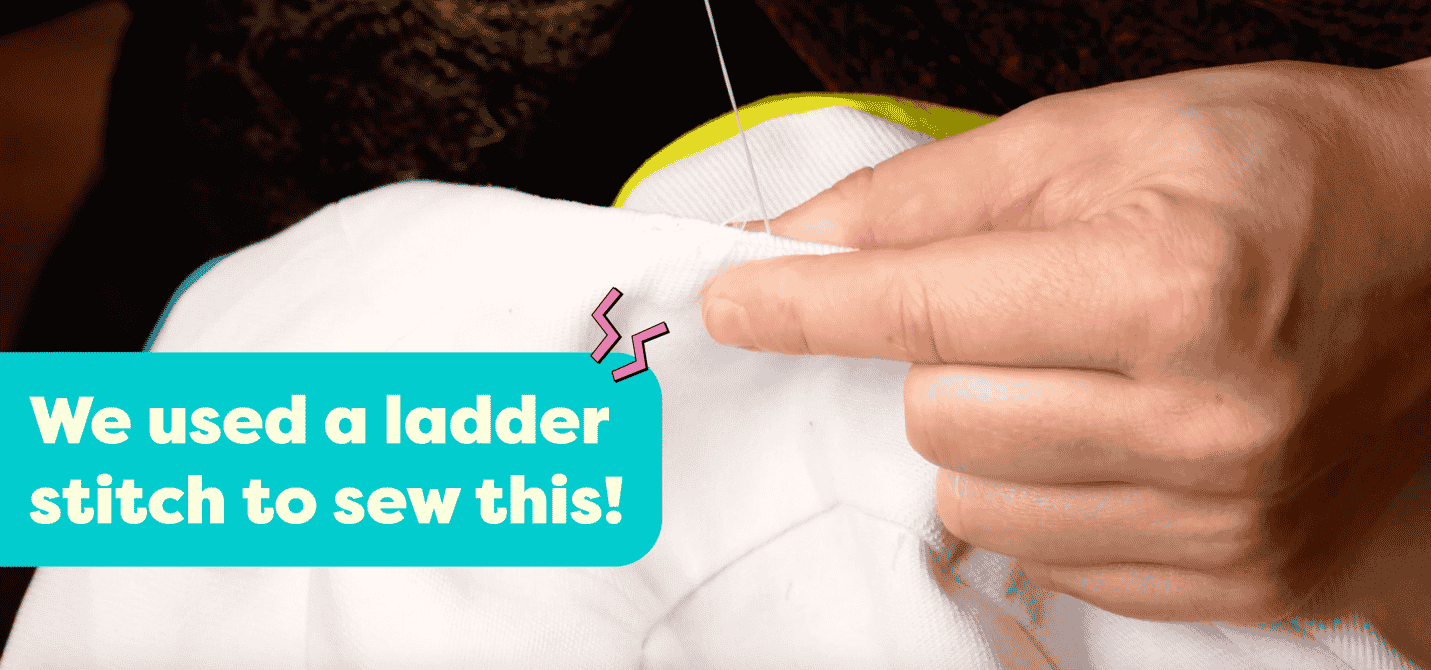
Load your variegated Tutti™ thread into your machine, still using DecoBob™ in the bobbin, and place your first row of top stitching around the very edge of the brim using a ¼ in or 0.6 cm seam allowance. Overlap your stitches a little bit when you come back around to the start so that you don’t have any pesky bulky backstitching on the brim of your hat.
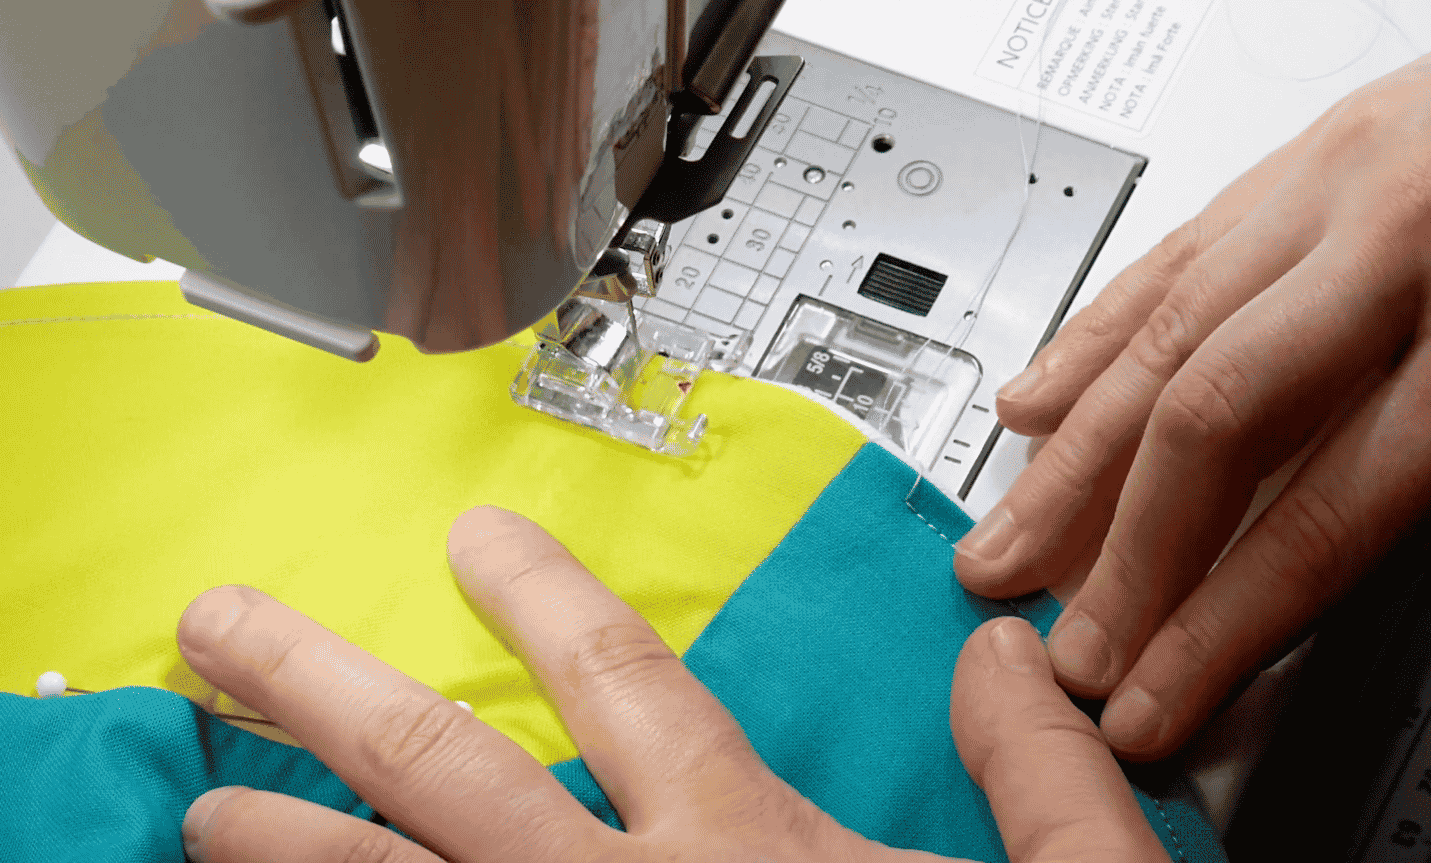
Sew another row of topstitching about ¼ in or 0.6 cm away from the first row or line the first row up with the edge of your presser foot and continue all the way around, again overlapping a bit at the end of your stitch.
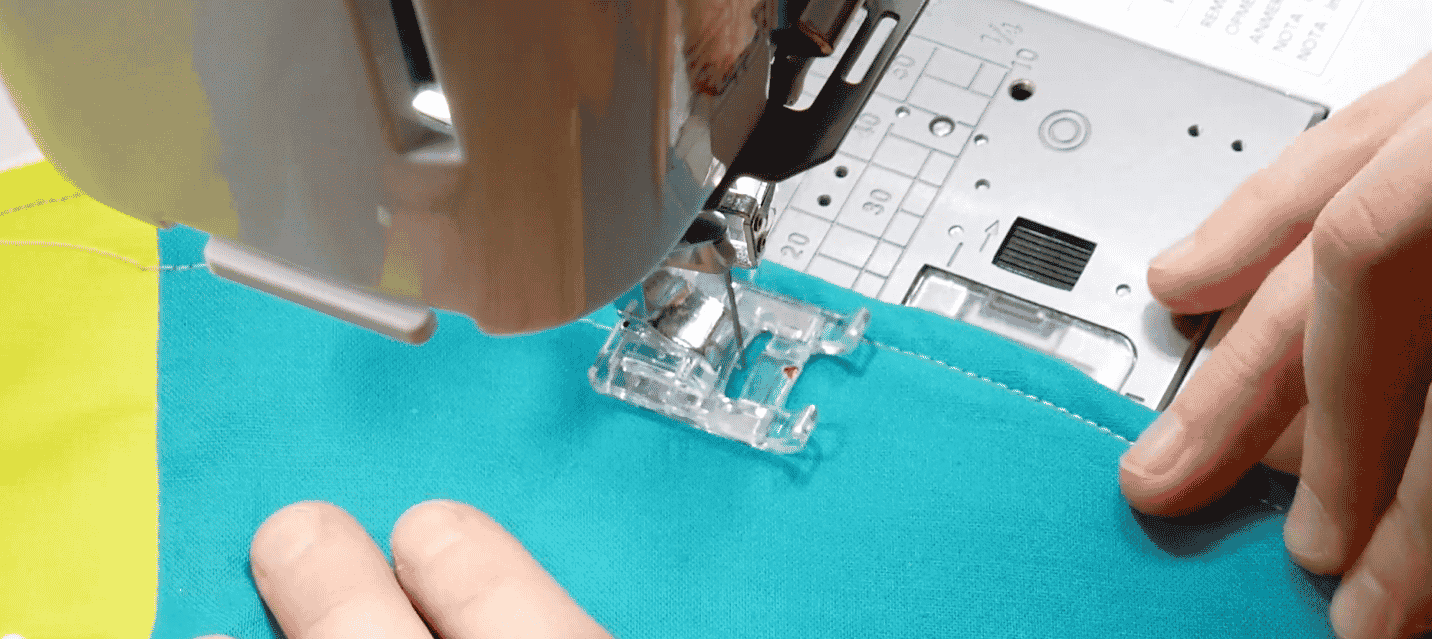
Repeat this step until your topstitching reaches the band edge of the brim.
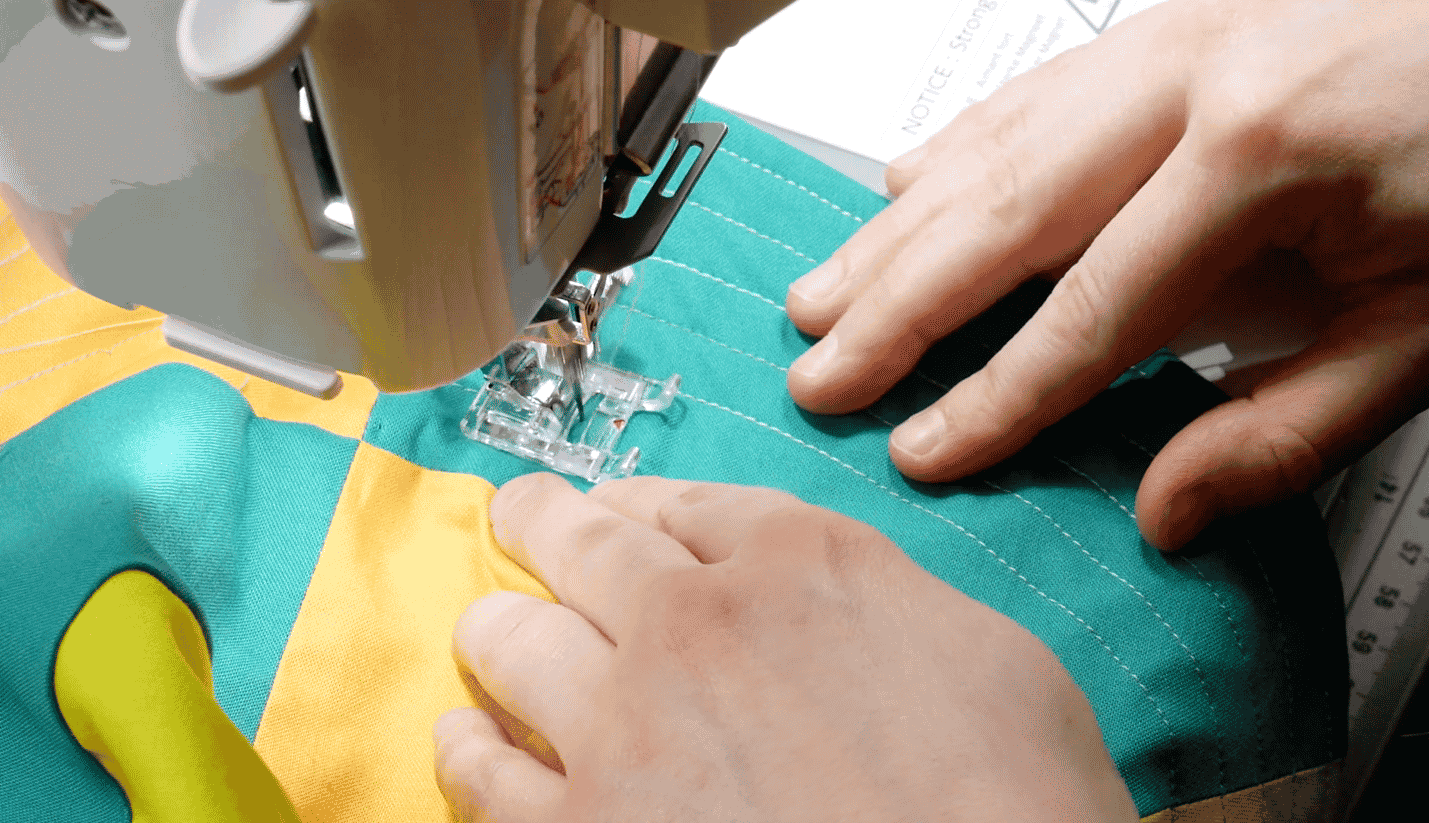
This topstitching will give some firmness to the brim of your bucket hat, so that on windy days it won’t flip up when you don’t want it to.

Press out any final edges, and there you have it, you’ve just made a stylish, colour blocked, reversible hat inspired by 90’s fashion! Go out there and rock your new spring accessory with the pride of knowing you’ve made this funky little piece!

Did you love this project? Check out the blogs by the other sewists who inspired this project!
Find a really amazing oversized bucket hat by Rosery Apparel: https://www.roseryapparel.com/videos/bucket-hat
And a simple bucket hat by the essentials club: http://theessentialsclub.com/blog-posts/bucket-hat
If you plan on making this retro inspired bucker hat don’t forget to tag us on social media using the hashtag #wonderfil so that we can share your wonderful creations! You can find the threads mentioned in this blog and more by visiting www.shopwonderfil.ca. You can also sign up for our weekly newsletter to get the first look at projects, sewing tips that will make you jump for joy, and inspiring tutorials. Click here to subscribe! And if you’re all about garment making, we have the perfect newsletter for you. Get exclusive first access to patterns and projects, tips to make the best of your garment making. Subscribe to our educational WonderFil wearables newsletter for tips and tutorials specific to garment making, all delivered straight to your inbox! Click here to subscribe to the WonderFil Wearables newsletter. We’ll see you again next time!

