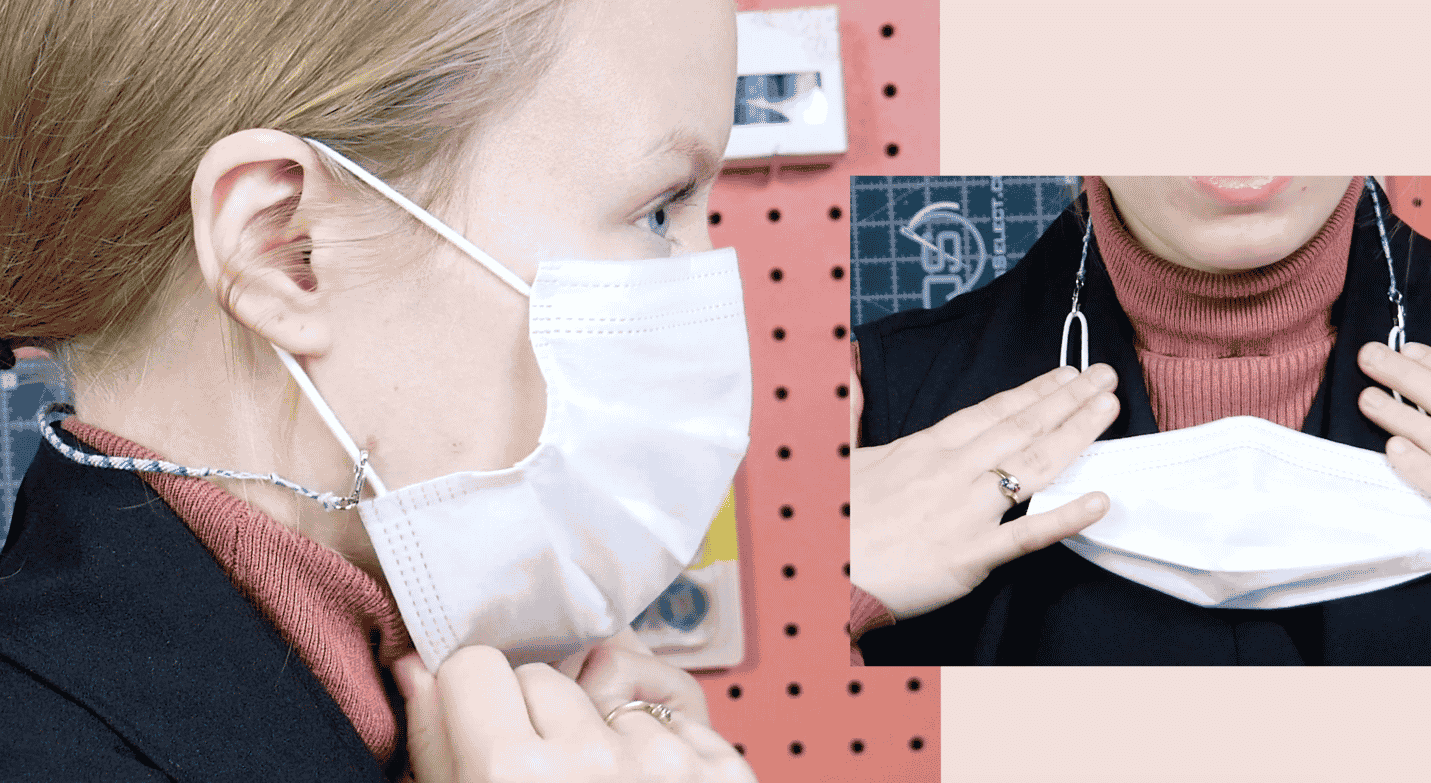
These face mask lanyards are a brilliant way of keeping your face covering close at hand while preventing it from getting contaminated by setting it down on a table or surface. It’s also the perfect way to remember to take your mask with you when on the go, whether you’re running errands, at school, or if you’re anything like us, realizing you left it behind as soon as you walk out your front door. You can accessorize your own with this super easy tutorial by choosing your own favourite colours.
Before beginning, you’ll want to choose 4 strands of a thicker thread. We’ll be using this #8 size perle cotton thread called Eleganza™, which is our recommended choice because the soft cotton finish will lay soft against your skin. It also has very little lint on it, so you won’t have a halo of lint around your finished lanyard.
You can choose 4 different colours for each strand of thread or mix and match however you like. Here are some of our favourite colour combinations for you to use if you’re not too sure what colours to pair up!
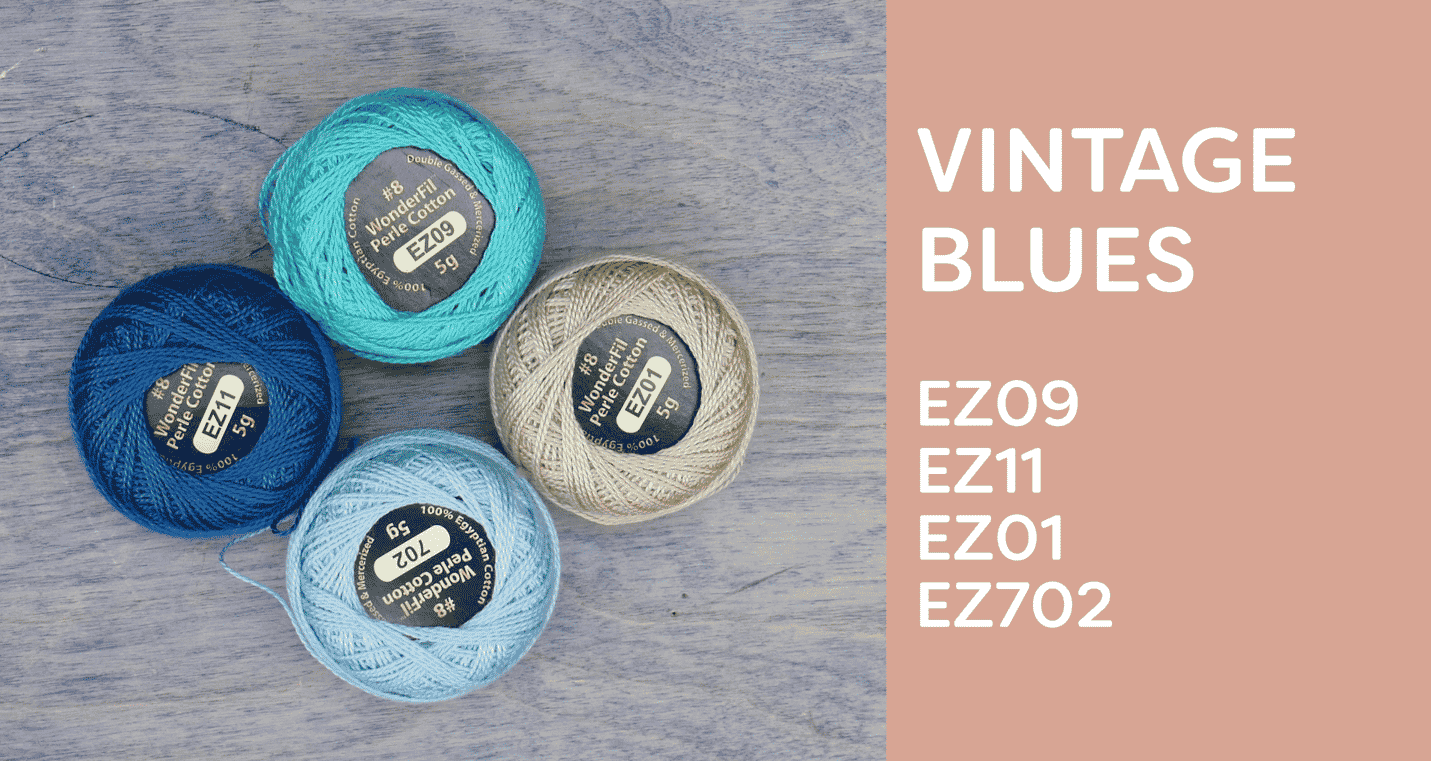
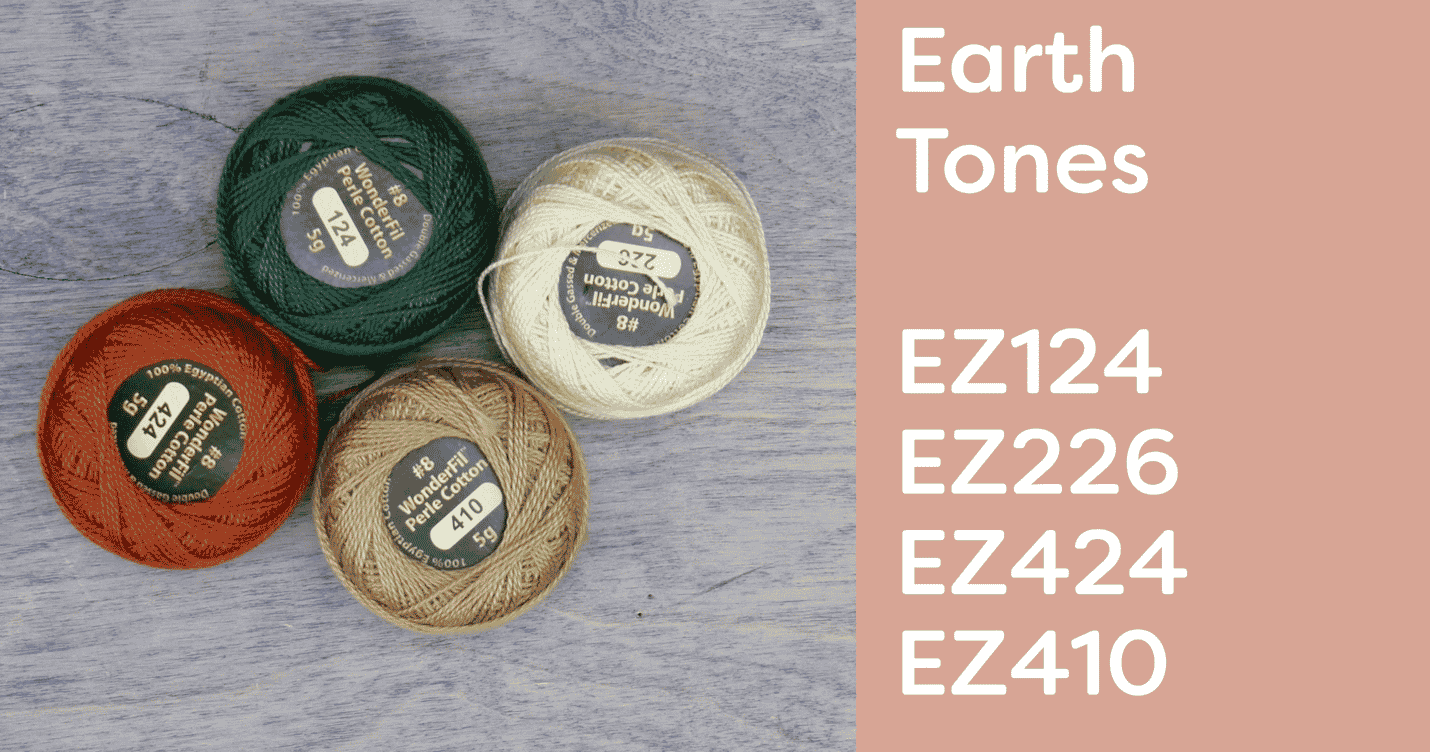
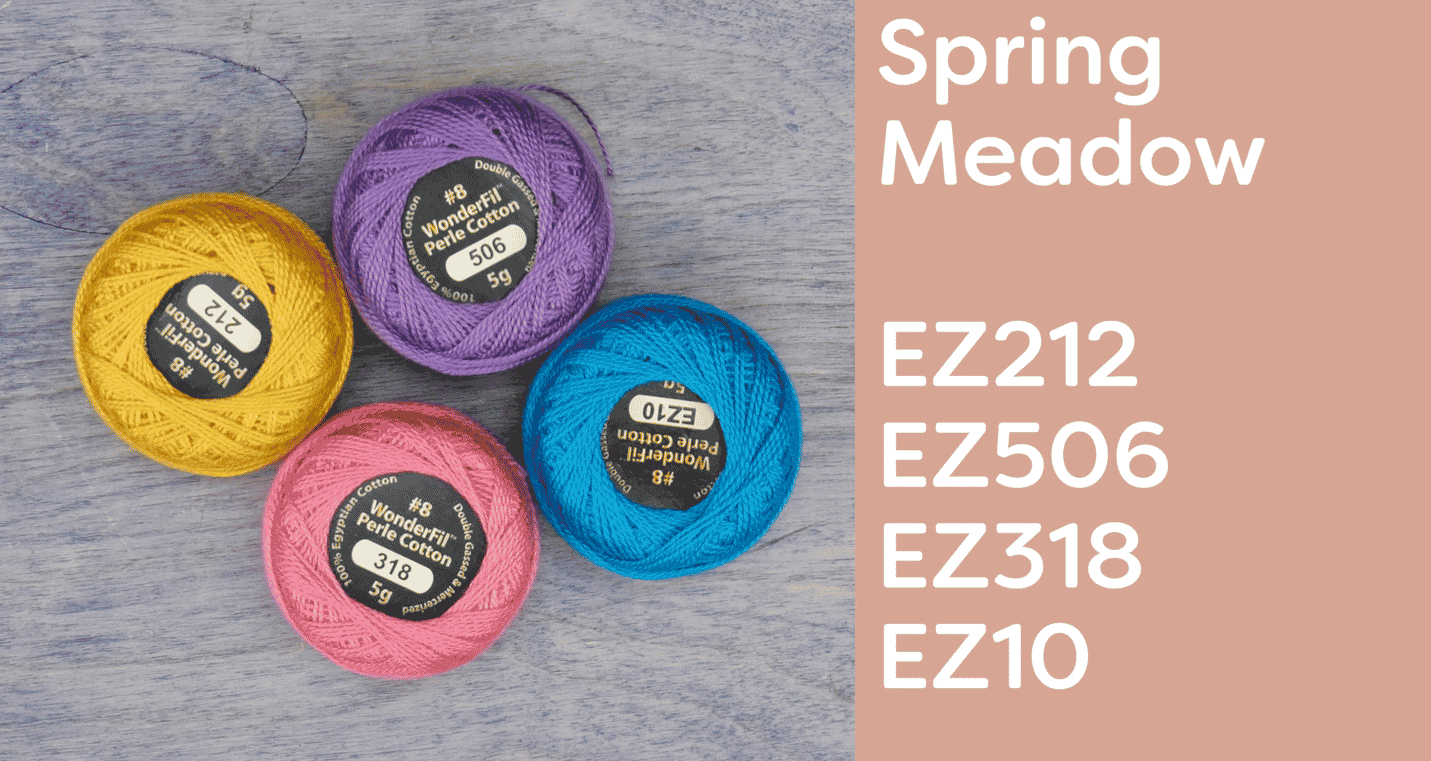
If you’d like to purchase these colours, or choose your own you can find them in our online shop here: https://shopwonderfil.ca/product-category/eleganza
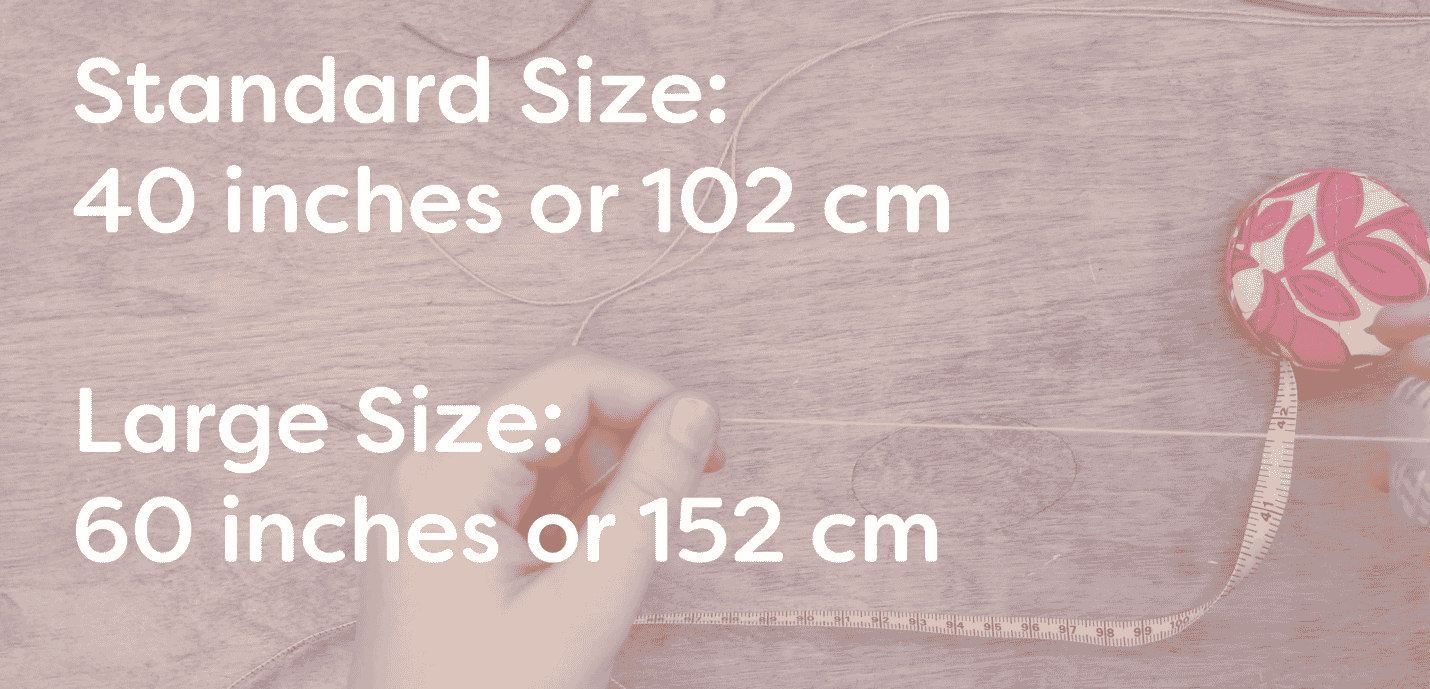
Cut the strands to a length of 40 inches, or 102 centimeters each. If you would like your lanyard to be a bit longer in length, you can cut your strands to 60 inches, or 152 centimetres.
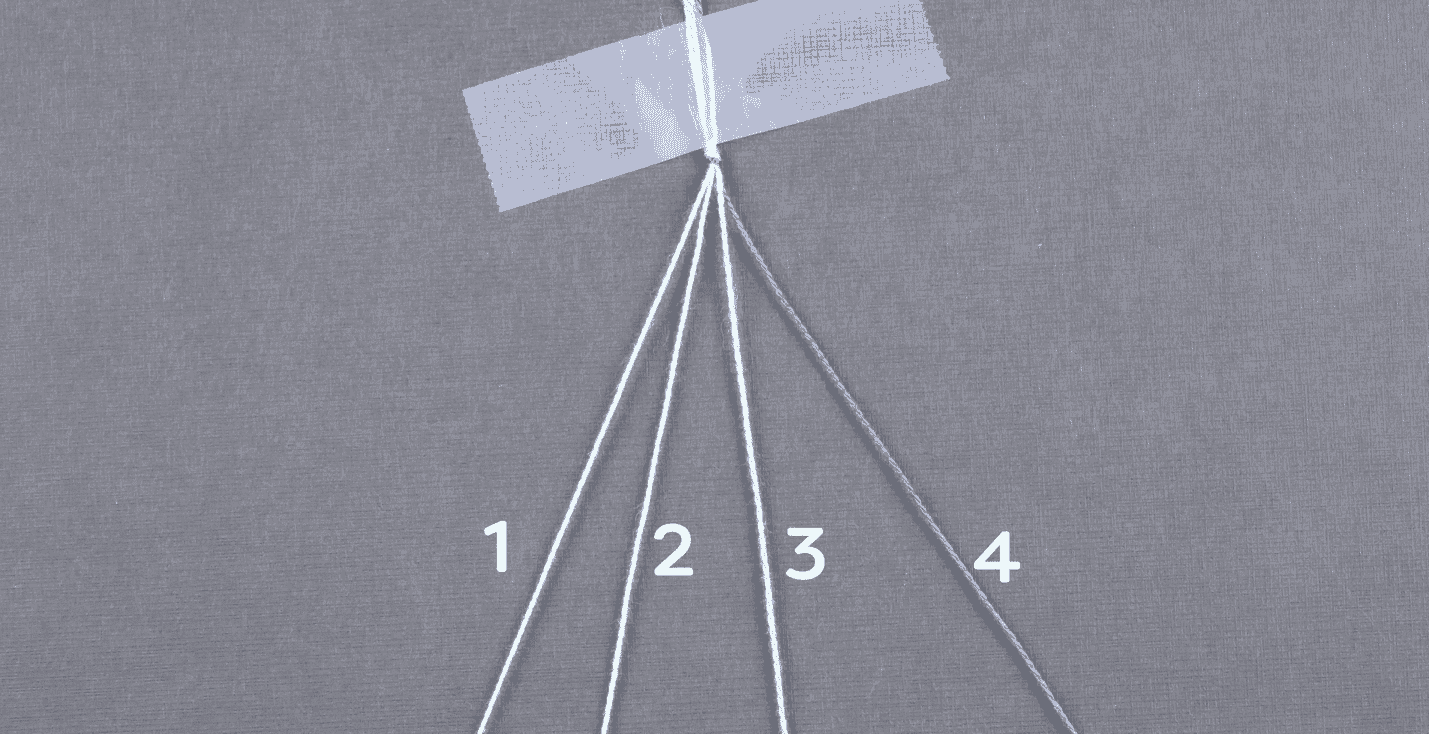
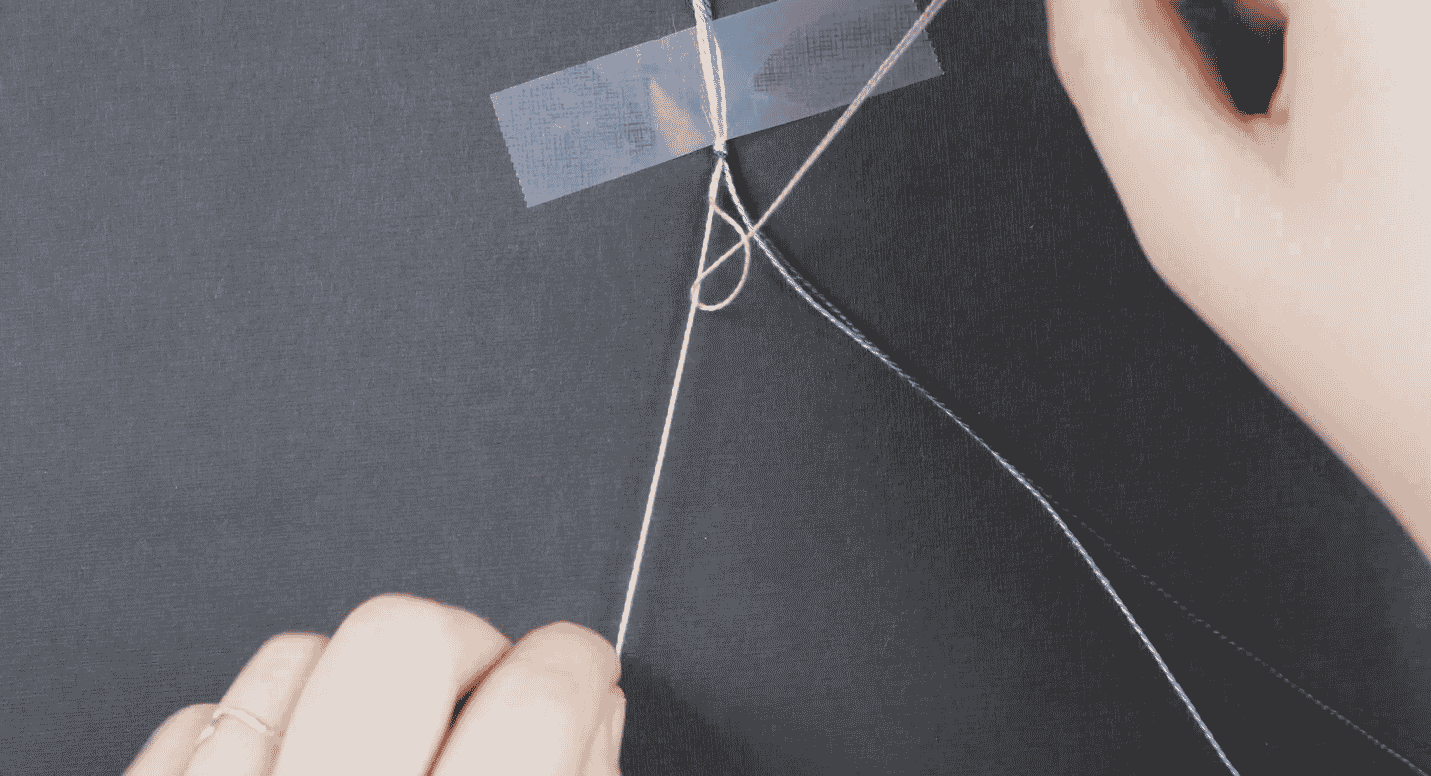
Arrange the colours in the order you want them to appear in from left to right and hold them in place by knotting the strands and taping the top ends down on your work surface, leaving about 3 inches, or 8 centimeters, of extra thread above the tape.
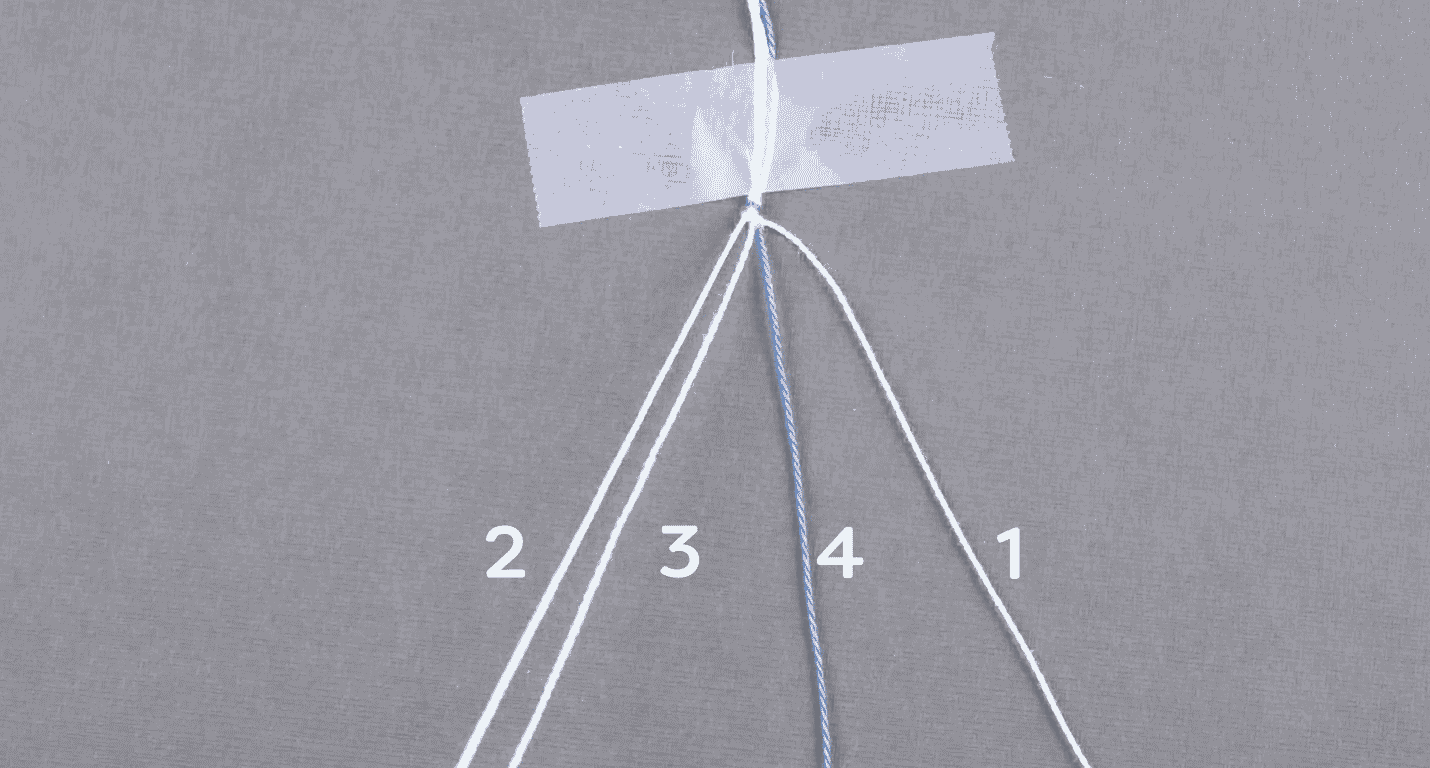
We’re going to number the strands to make it easier to identify how to weave them.
Take strand 1 and loop it over and under strand 2.

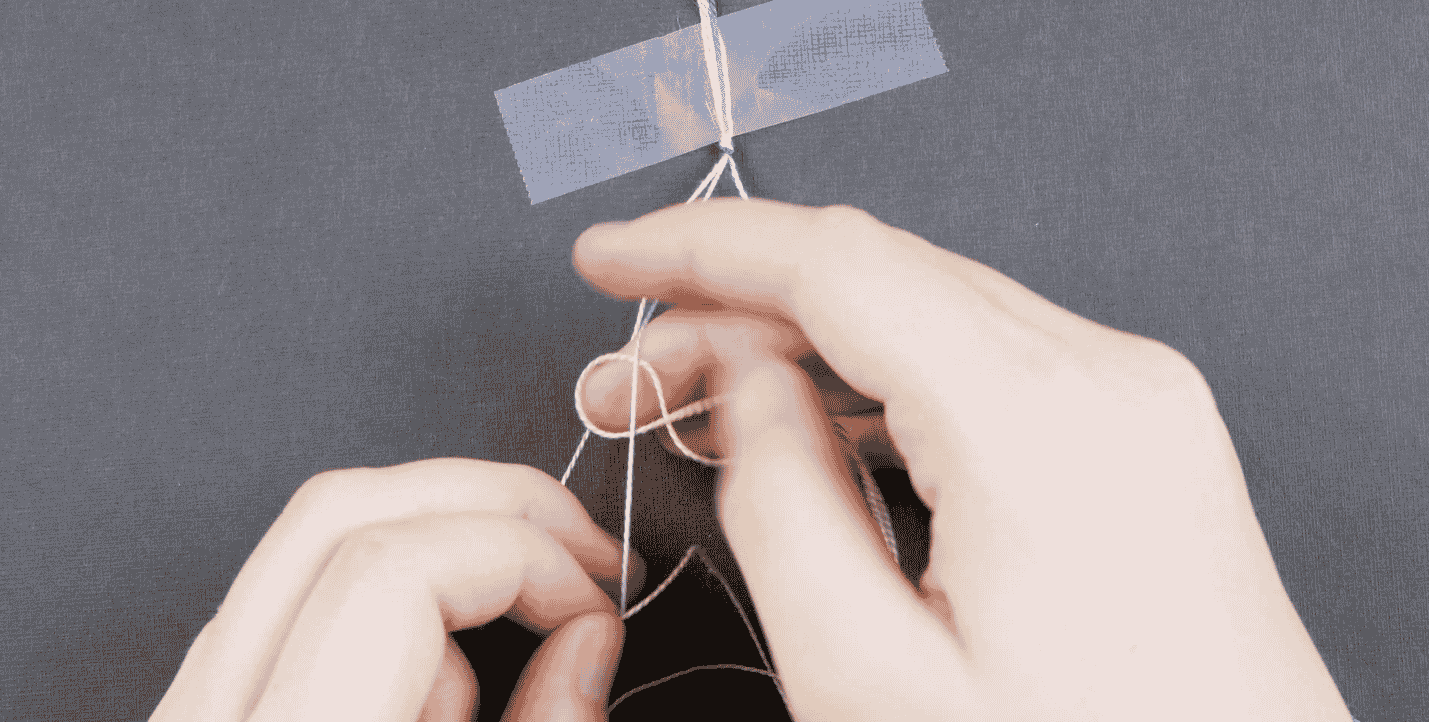
Holding strand 2 taught and pull the knot snugly in place. Repeat this knot a second time to create a double knot.
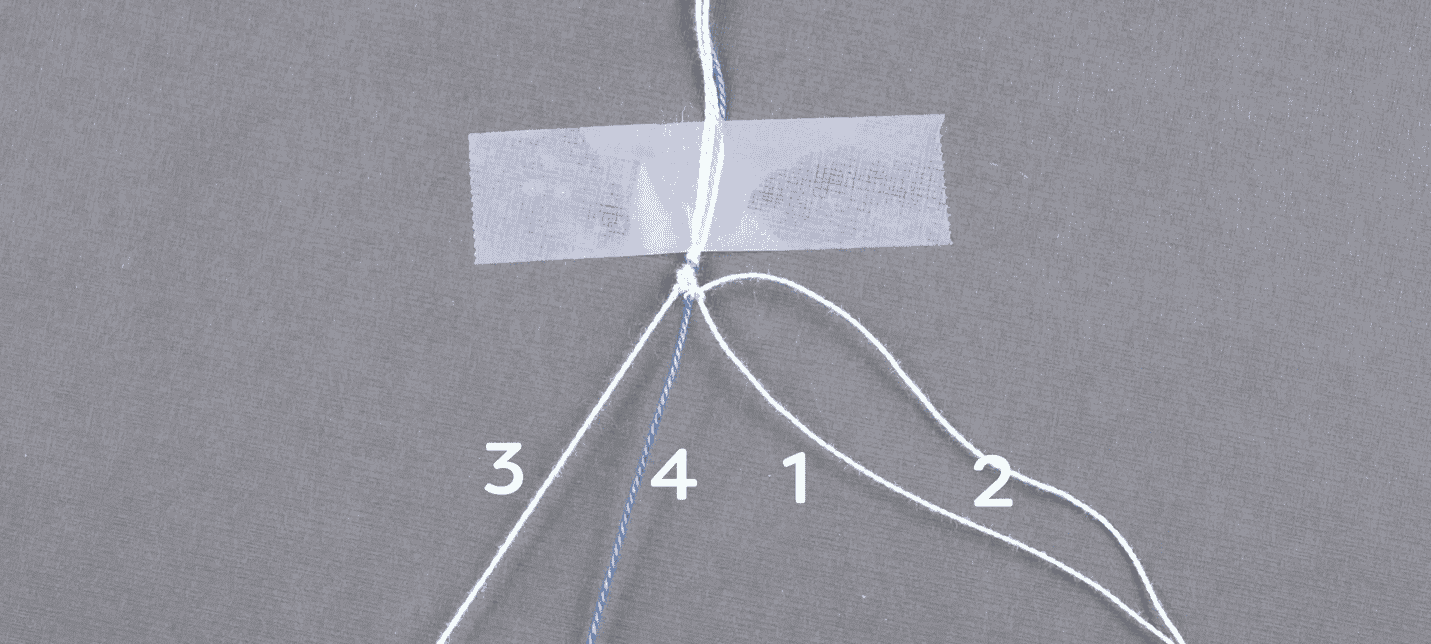
Take strand 1 and repeat this step with strand 3, creating a double knot again. And now the same, making a double knot on strand 4. Now you’ve completed your first row of weaving! Once you’ve completed this row, the strands will now be in this order:
Now you want to repeat this double knot technique using strand 2, knotting strand 3 first. Then knot strand 4. And finally strand 1. After knotting this row, your strands will be in this order:
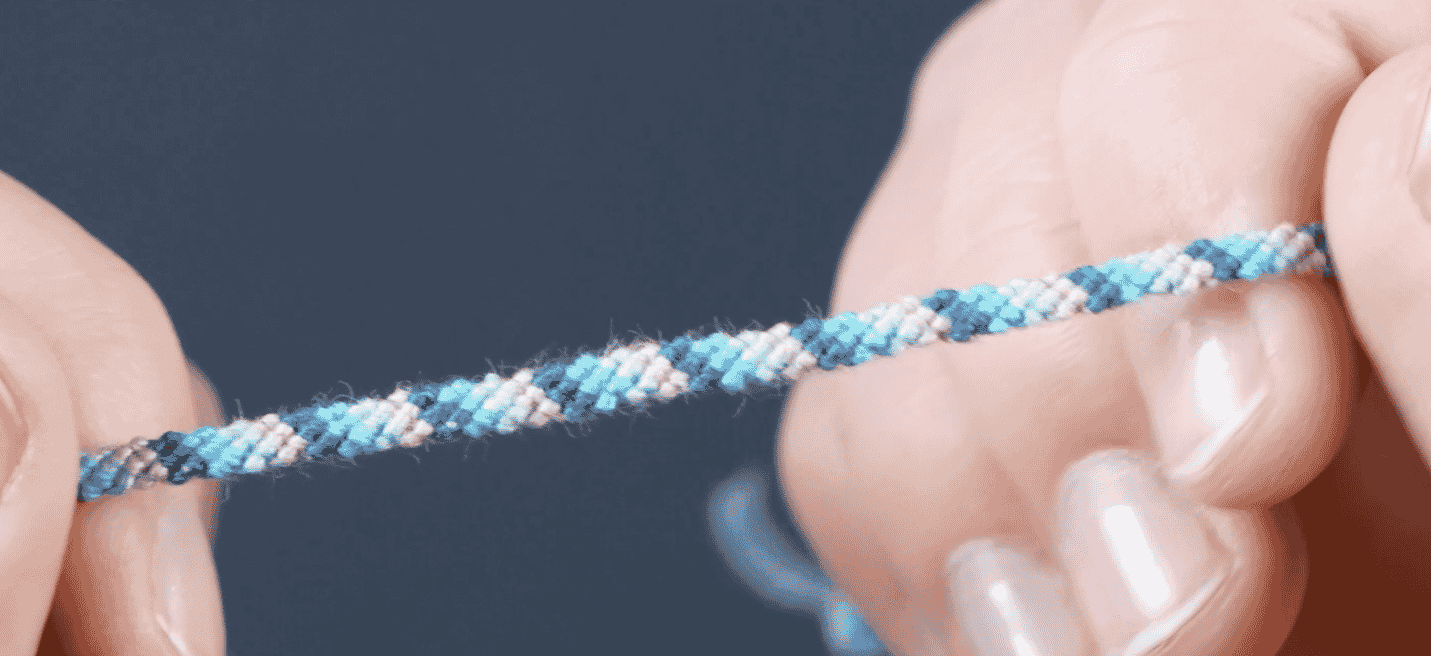
After repeating these rows, you’ll probably have the hand of it. If you want to follow along with all of the strands, don’t forget to check out our YouTube video at the top of this blog!
If you’re feeling adventurous, and want to try a different weave pattern, or even a pattern with more strands of Eleganza, you can follow this link to see all of the possibilities there are with this one simple technique! https://www.thesprucecrafts.com/friendship-bracelet-patterns-4780552
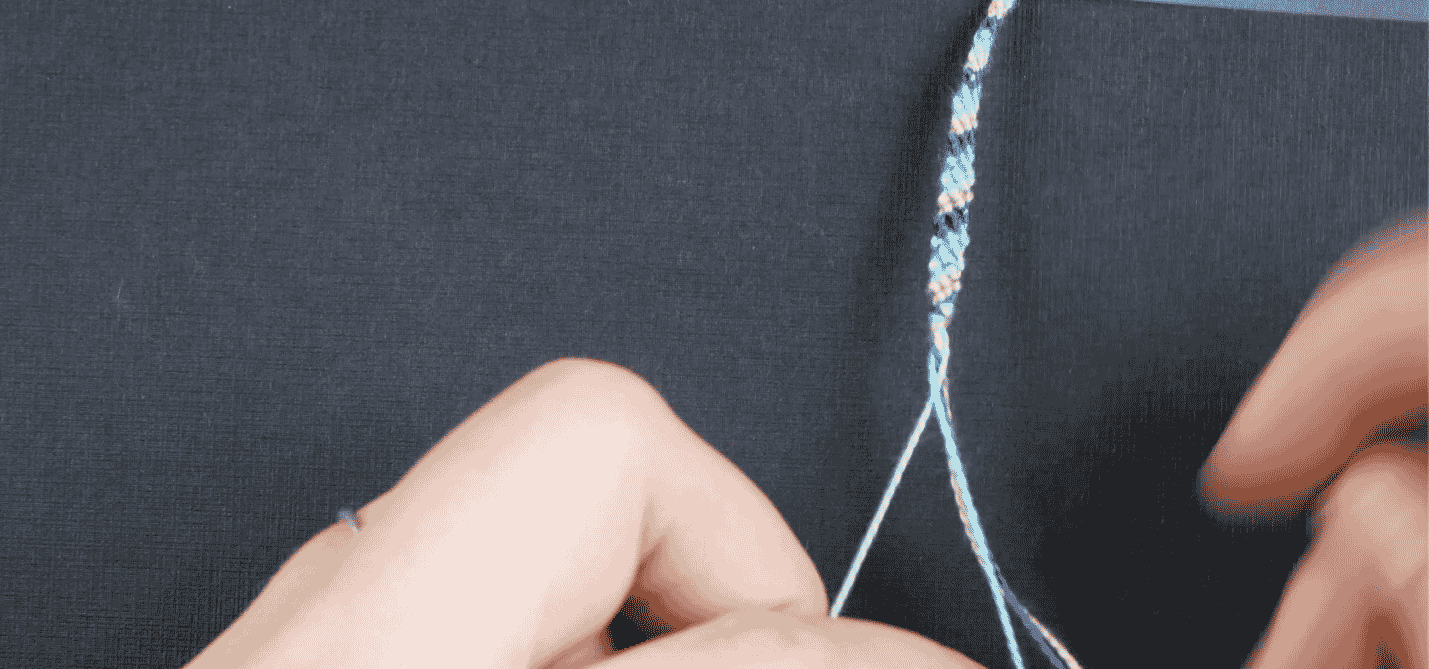
Repeat these same steps starting with strand 3 next and then strand 4, before continuing the same cycle all the way down until you’re about 3 inches or 8 centimeters away from the very end.
For an extra touch of creativity, you can braid the ends using a hair braiding technique, an over and under motion towards the middle. If you’re not sure how to braid hair, or if you’ve been out of practice for a while you can follow along with this instructional! https://www.animatedknots.com/three-strand-braid-knot#:~:text=Start%20with%20the%20ends%20bound,Repeat%20again.
To secure your mask to the lanyard, you’ll need to attach two clasps to each end of the braid. You can pick these up at any craft store or find them online. Knot the remaining strands to the clasp to attach. Trim the remaining extra strands of thread.
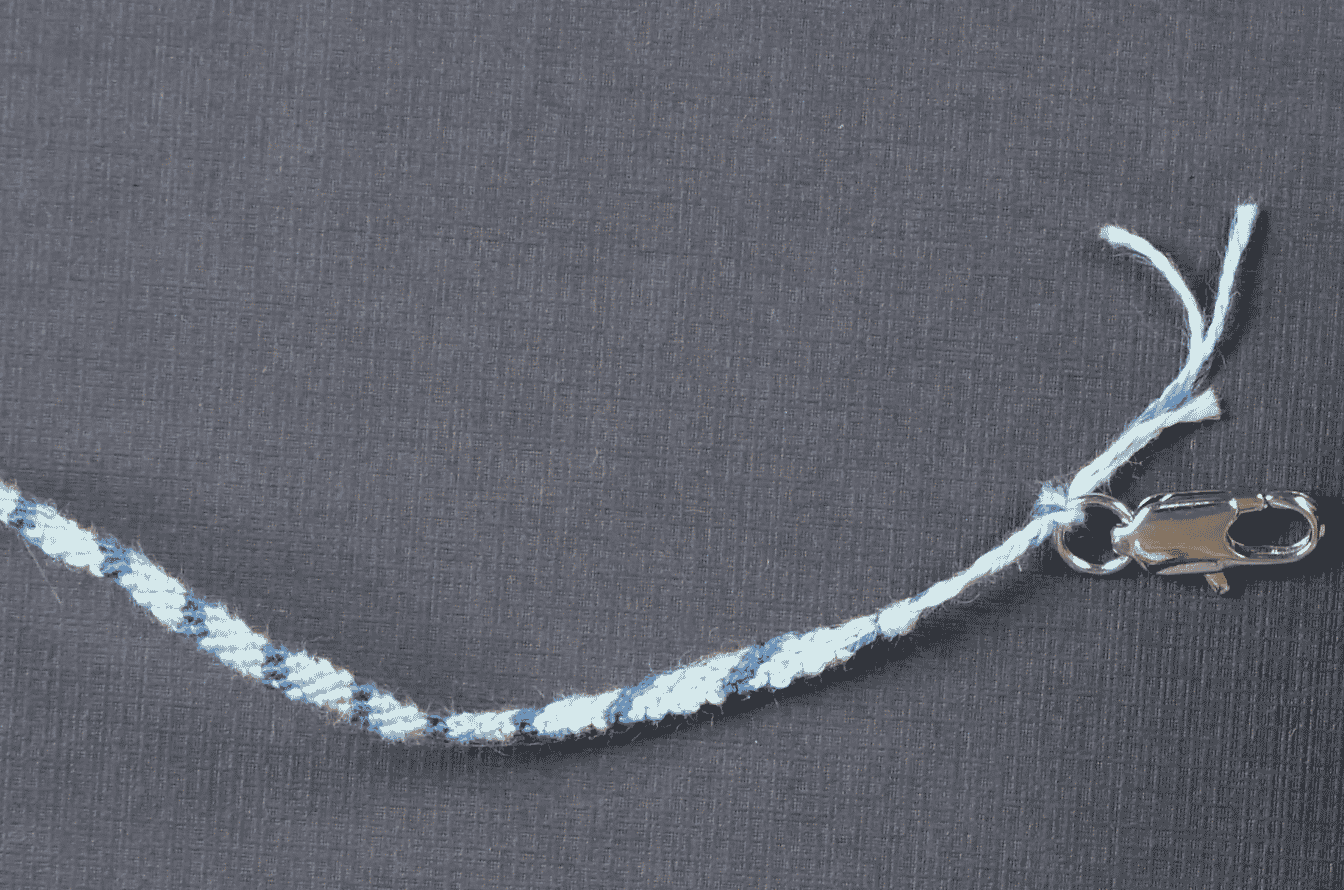
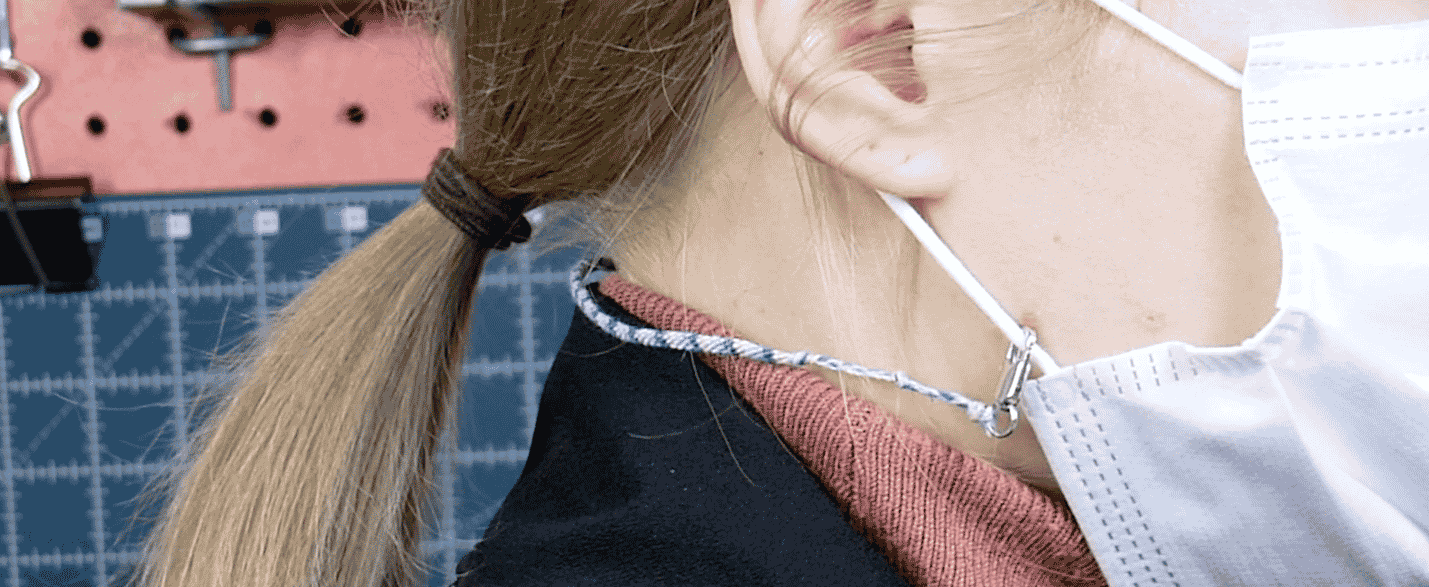
As easy as that, your face mask lanyard is complete! Keep your face covering on you at all times by hooking the mask loops into the clasps.
Let us know if you’re making a mask lanyard for yourself or your family! You can tag us in your creations on Instagram by using #wonderfil. Head on over to https://shopwonderfil.ca/ to grab some Eleganza threads to get crafty with! You can also sign up for our free newsletter to receive more educational sewing tips, tutorials, and free patterns. Register by clicking here! We’ll see you again next time!